Moving WordPress posts is not a rare occurrence. Sometimes even a single post might be moved more than once. For example, when migrating a site moving blog posts is the number one thing that has to be done because let’s face it, what is a site without content?
When migrating the content, or to be more specific, WordPress posts, you could definitely rely on the WordPress’ built-in export/import feature. The only drawback with this feature is that it does not include featured images.
You've moved your WordPress posts and lost your #featured #images in the process? Learn how to avoid getting into that situation again by reading this article! Share on XIf you have 10-15 posts that might not be so devastating, but for a site with hundreds sometimes even thousands of blog posts, this could be a nightmare for a few reasons.
The first one being that having blog posts without featured images is a huge no-no SEO-wise but also UX-wise. Your UX is one of the crucial factors which plays a huge role in the interest of your users and the amount of time of them hanging out on your site, so reaching out to UI design companies that’ll make sure that everything is visually pleasing and running smoothly might be your next ideal move to make. The second reason is that setting a featured image for so many posts is not only time-consuming but is also very tedious. And the third and most important reason is that creating quality featured images is a task that requires creativity, time, effort, and the use of complex image editing tools such as Photoshop.
Speaking of image editing tools, all the hassle with using Photoshop isn’t necessary when you have other solutions such as Pixlr, which will do the job just as well but is much easier to handle.
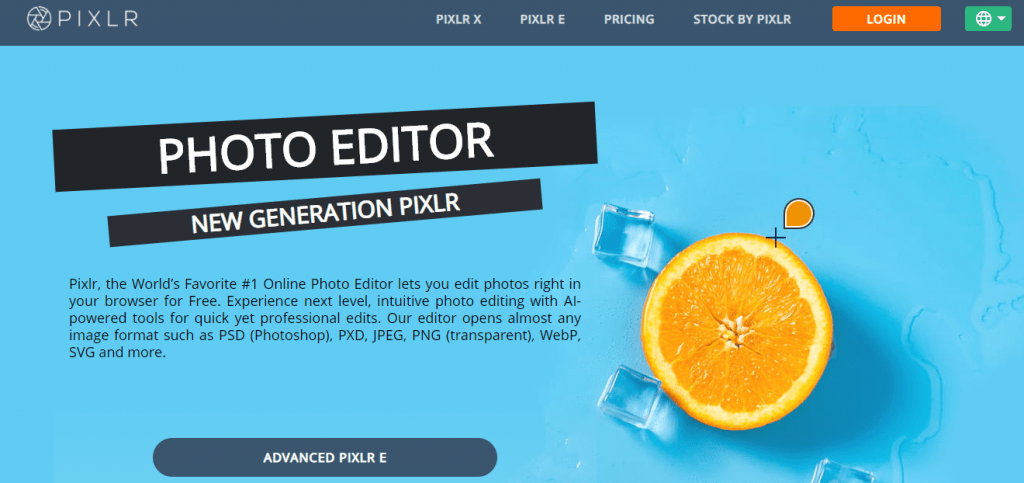
In a nutshell, Pixlr is a professional editing tool that doesn’t have a learning curve. It is extremely intuitive and has AI-powered features that enable you to do complex designs and edits quickly and easily.
Using Pixlr you will have the ability to remove image backgrounds with one click and enhance the images with filters, overlay, icons, etc.
Best of all, the image editing process is done right in the browser meaning no installation will be required. Amazing!
Oh, and if you are also looking for places to source the images you will edit, Depositphotos, Yay Images, and Stock Unlimited are just a few great options.
Now, let’s get back to talking about featured images!

In case there are even a few of you think right now “oh I can live without featured images” let us convince you otherwise.
Before you start questioning the importance of featured images, heck even any kind of images, ask yourself this. Would you be interested in the content offered by a site that doesn’t include any images in it? Of course not!
That is why in this article we are going to teach how you can move your WordPress posts and not have your images get left behind in the process.
But before we get into that, we first have to talk about what exactly a featured image is.
The meaning behind a featured image
Although a featured image is like any other image out there, just a media file, it plays a big role in your blog/website.
It is there to grab the visitor’s attention by either giving a teaser of what the article is about or by being shocking/intriguing thanks to a well-thought-out headline.
Besides that, it helps increase the blog’s visual quality and improve its social sharing rates. Meaning that in any way that you look at it, it is something that shouldn’t be forgotten or neglected.
Now that we got that out of the way, let’s talk about how you can move your featured images along with their respective posts.
The export and import process of the post with its featured image
Exporting
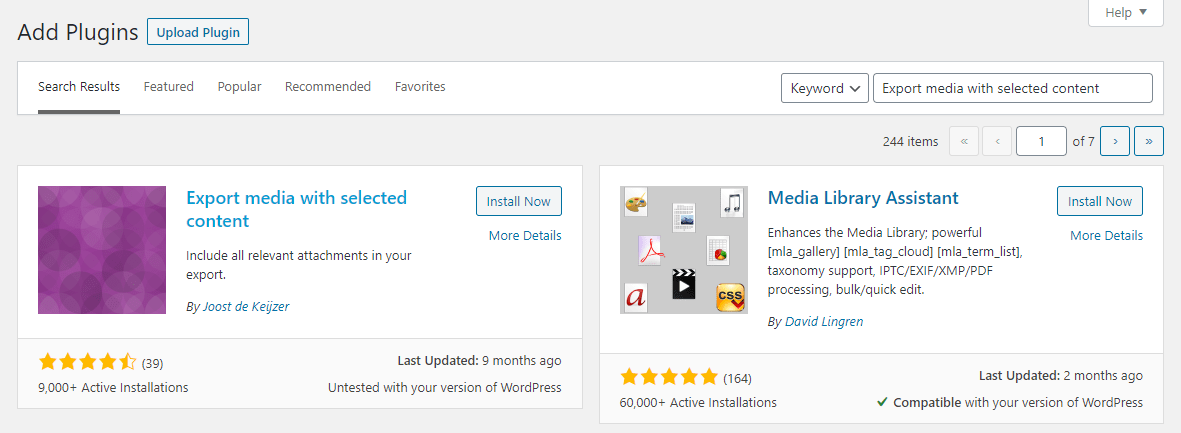
To complete the export process, you will need the help of a plugin. The specific plugin you will need is called Export media with selected content. Install and activate the plugin like you would any other, and after doing that you will be ready to start exporting (and importing of course).
Once the plugin is up and running, go into your Tools tab on the WordPress dashboard, and then click on the Export option.
Now you should see a screen that will ask you to choose what you wish to export by ticking a radio button. In our case, we will choose the Posts option.
Next, check the box at the end of the page labeled Export media with the selected content and click on the Download Export File button.
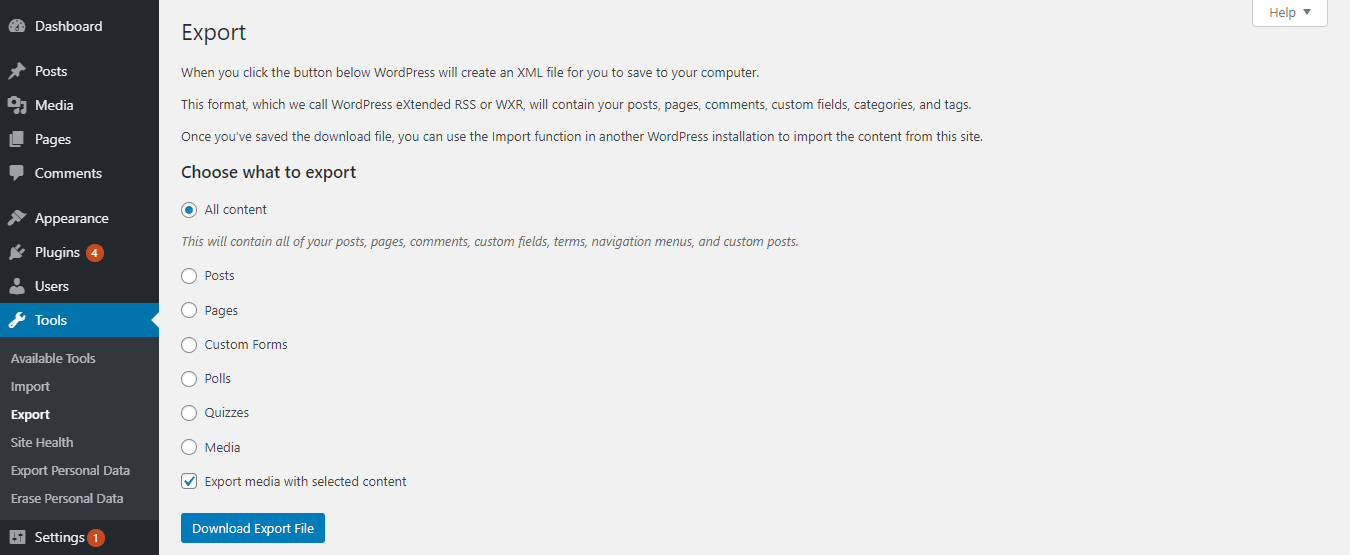
After that, the file should start downloading, and once that is done, you can save it on your computer or cloud storage, whichever is your preference.
Importing
To import the downloaded files, again go into your Tools tab, but this time click on the Import option.
Next, choose the WordPress option (located at the bottom of the page) and then activate the WordPress Importer plugin.
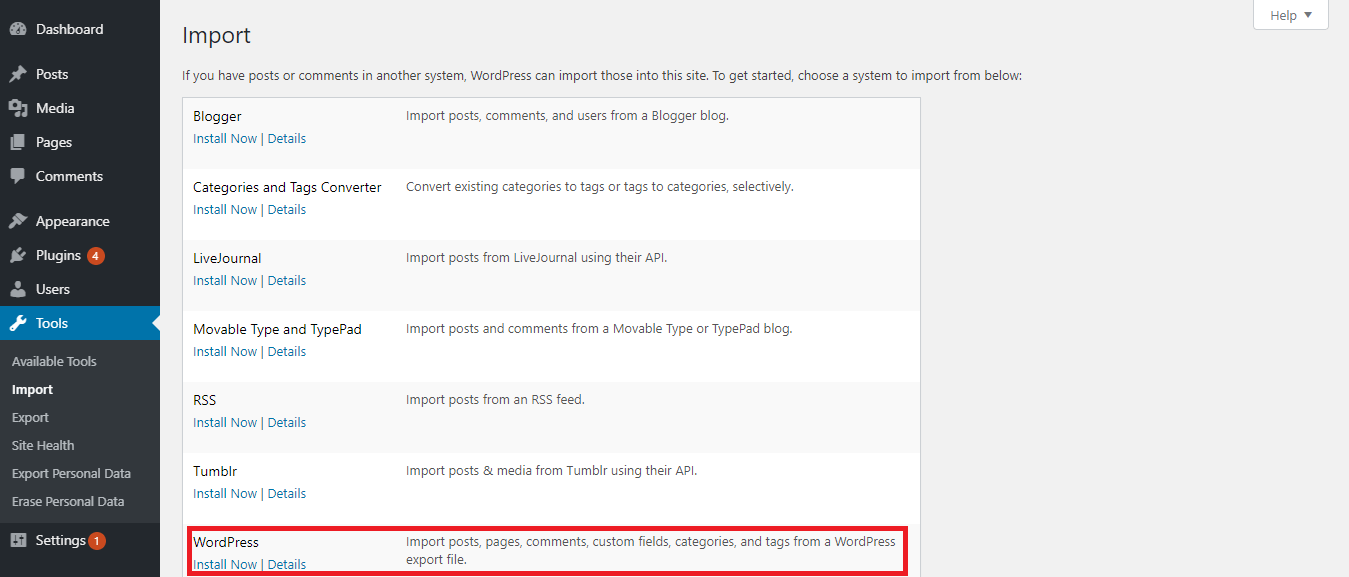
Once you have done that, simply import the file you downloaded earlier and you should be good to go. Your posts will now be imported and won’t be missing their featured images.
Few extra tips
- In case you have a lot of different blog posts, then a good idea would be to export them in a few batches (maybe 3/6-month batches) instead all at once in order to avoid timeouts. This can be achieved by changing the date range during the export process and importing the files to their new location one at a time.
- When importing posts don’t forget to assign authors to them so the posts on your new site can be consistent with the ones on your old site.
- Another thing you shouldn’t forget is to move the images that are within the content via FTP because they matter as much as your featured images. When doing this, double-check that the URLs to the images are in fact correct.
Conclusion
We hope that this article gave you a clear explanation of how to move your posts along with their featured images and proved to you that doing so is in fact possible and also easy to do.
With that, we have come to the end of this article.
Thank you for reading and good luck with your next migration!
Comments are closed.