We are all part of the internet! And today, more than ever, it’s easier to create a site even if you’re not a developer. Rent hosting, come up with a site name, and pick a tutorial; in just a few clicks, you have your site.
Looking to create a #sticky header? In this article, we provide you with a detailed #tutorial! Share on XWith the right platform, all your wishes can come true. Do you want a simple blog or a complicated site? It doesn’t matter! WordPress provides such flexibility. It is a CMS used to create and manage sites.
WordPress is one of the most popular CMSs in the world. An interesting fact is that 35% of all websites use it. Some of the biggest companies like Facebook, BBC, Mercedes-Benz, and Vogue use WordPress.
WordPress is easy to use. It is very simple and not limited, and you can use it for different purposes. Although it was originally created as a platform for bloggers, further development has enabled the implementation of various things that allow you to turn your simple site into whatever you imagine.
The most important reasons to use WordPress are:
- Lots of content control
- SEO-friendly
- Responsive pages
- Ability to modify pages
- Easy to use
- Free
Along with all of this, WordPress also allows you to create so-called sticky elements. These elements come in all shapes and sizes. But the most popular ones are a sticky header, a sticky menu, and an Elementor sticky menu.
In this article, we will briefly go over what those are and then do a deep dive into how you can create them manually or using a plugin. So let’s get started!
What Is a Sticky Menu?
A sticky menu is a navigation/menu bar fixed in a single location so that it does not vanish when scrolling the website. In other words, when you scroll down the website, the sticky menu will remain fixed in place.
What Is a Sticky Header?
A sticky header is a page header fixed to the top of the screen as you browse a page.
What Is an Elementor Sticky Menu?
An Elementor sticky menu is the same as a regular sticky menu, except you use Elementor to create it. Elementor is one of the most popular tools for designing your site without programming knowledge.
Creating a Sticky Menu Manually
As we have mentioned several times in this text, you can customize your WordPress pages using plugins or using HTML and CSS code.
You can also create a sticky menu with HTML and CSS code in a very simple way.
This is the CSS code needed to make an element sticky.
div.sticky {
position: -webkit-sticky; /* Safari */
position: sticky;
top: 0;
}
This is the code for an HTML page with a sticky header:
<!DOCTYPE html>
<html>
<head>
<meta name=”viewport” content=”width=device-width, initial-scale=1″ />
<style>
div.sticky {
position: -webkit-sticky;
position: sticky;
top: 0;
background-color: yellow;
padding: 50px;
font-size: 20px;
}
</style>
</head>
<body>
<h2>Sticky Element: Scroll Down to See the Effect</h2>
<p>Scroll down this page to see how sticky positioning works.</p>
<div class=”sticky”>
I will stick to the screen when you reach my scroll position
</div>
<p>Some example text..</p>
<h2>Scroll back up again to “remove” the sticky position.</h2>
</body>
</html>
Both code examples can be found by clicking on this link!
Creating a Sticky Menu Using a Plugin
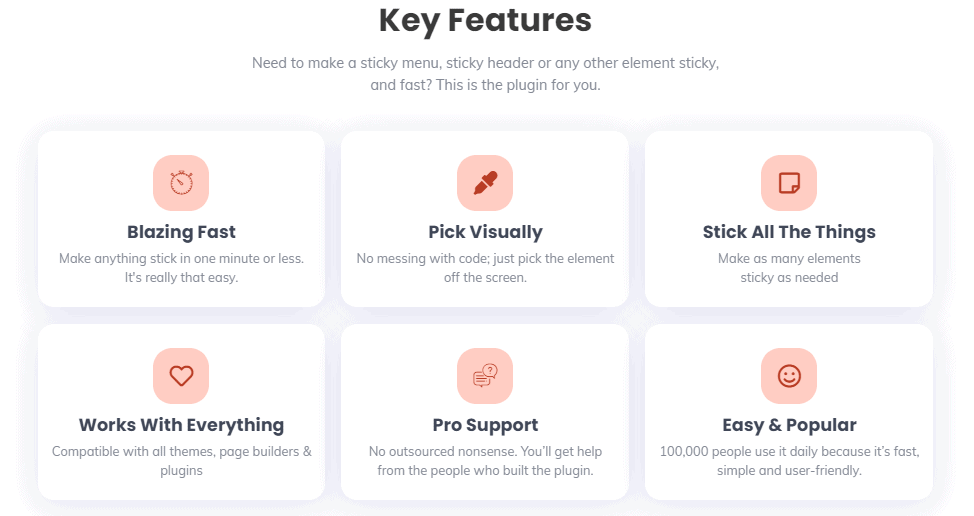
For easier and quicker creation of sticky elements, we recommend the most famous plugin called WP Sticky.
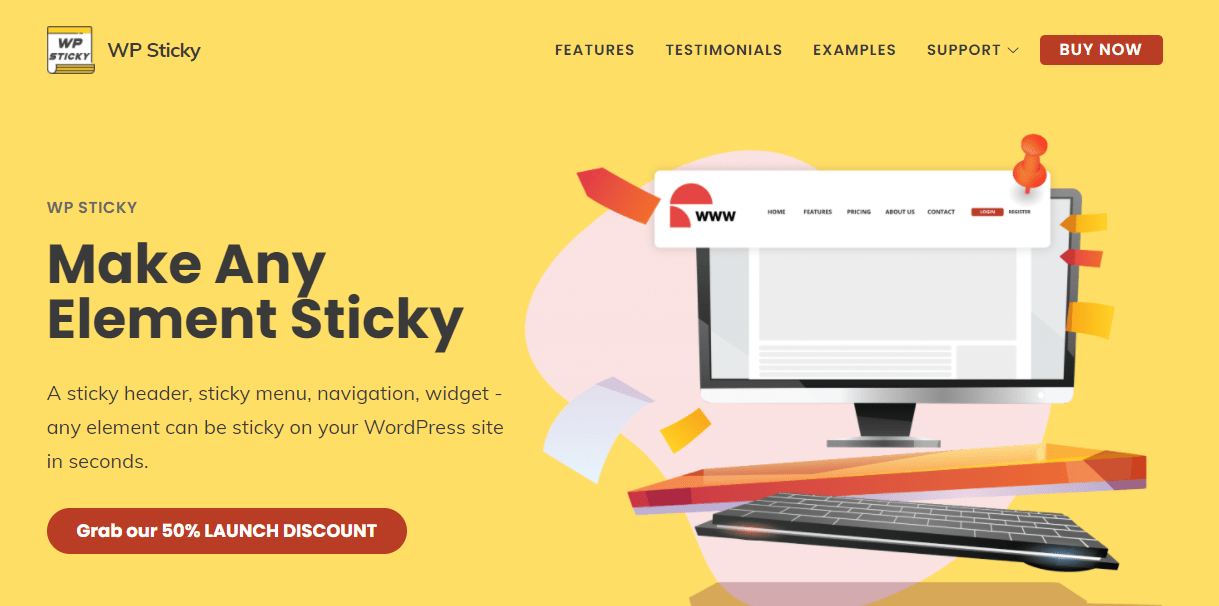
WP Sticky allows you to make any element on your site “sticky”. This means that the element will follow you as you scroll the page. Although this plugin is commonly used to keep your menu/header fixed at the top of the page, you can also use this plugin to make other elements sticky. Doesn’t that sound just great? Create a sticky header, sticky menu, sticky widget, maybe even a sticky logo, whatever you want.
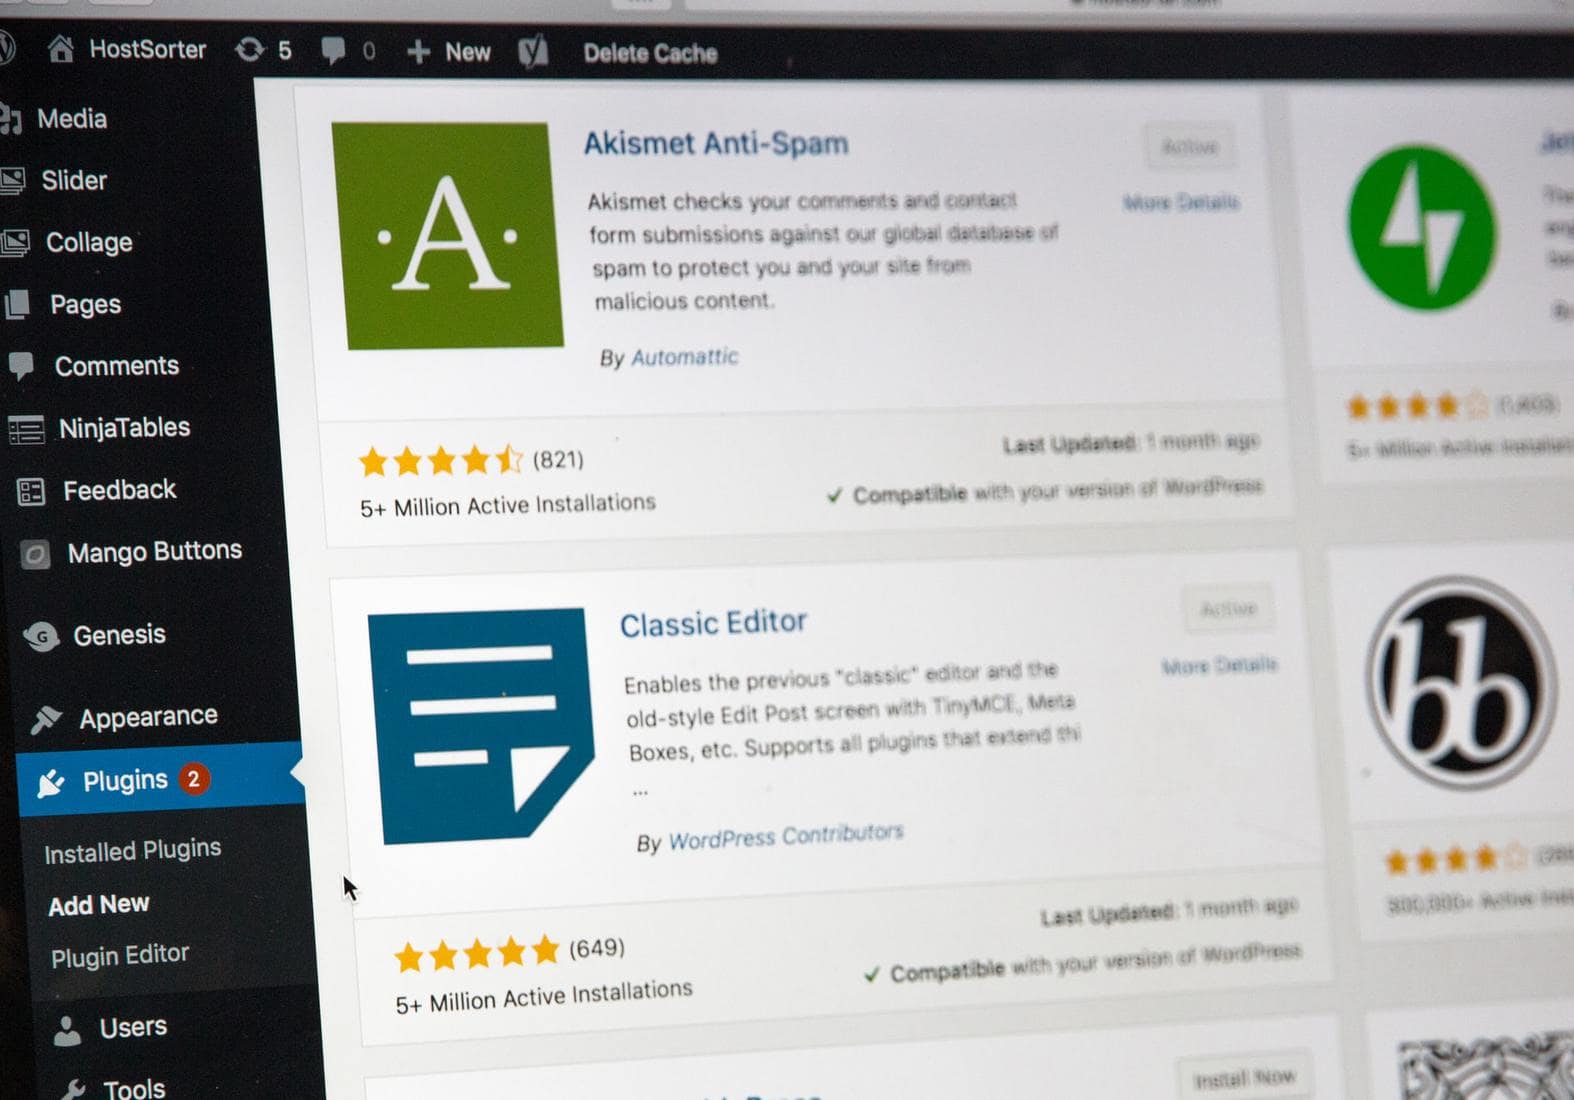
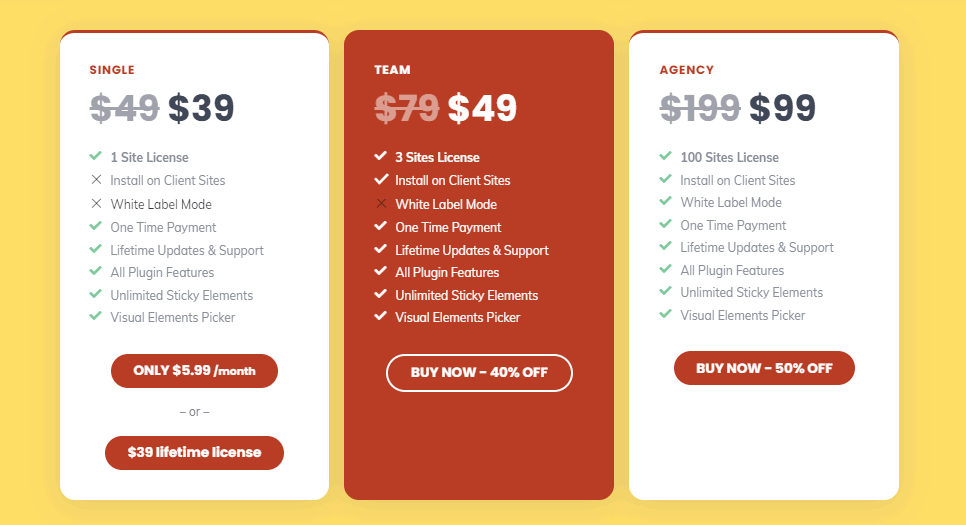
You can download WP Sticky (free version) by going to Plugins, Add New, simply typing in WP Sticky, and then clicking the Install button. You can also buy it (Pro version) via the official website.
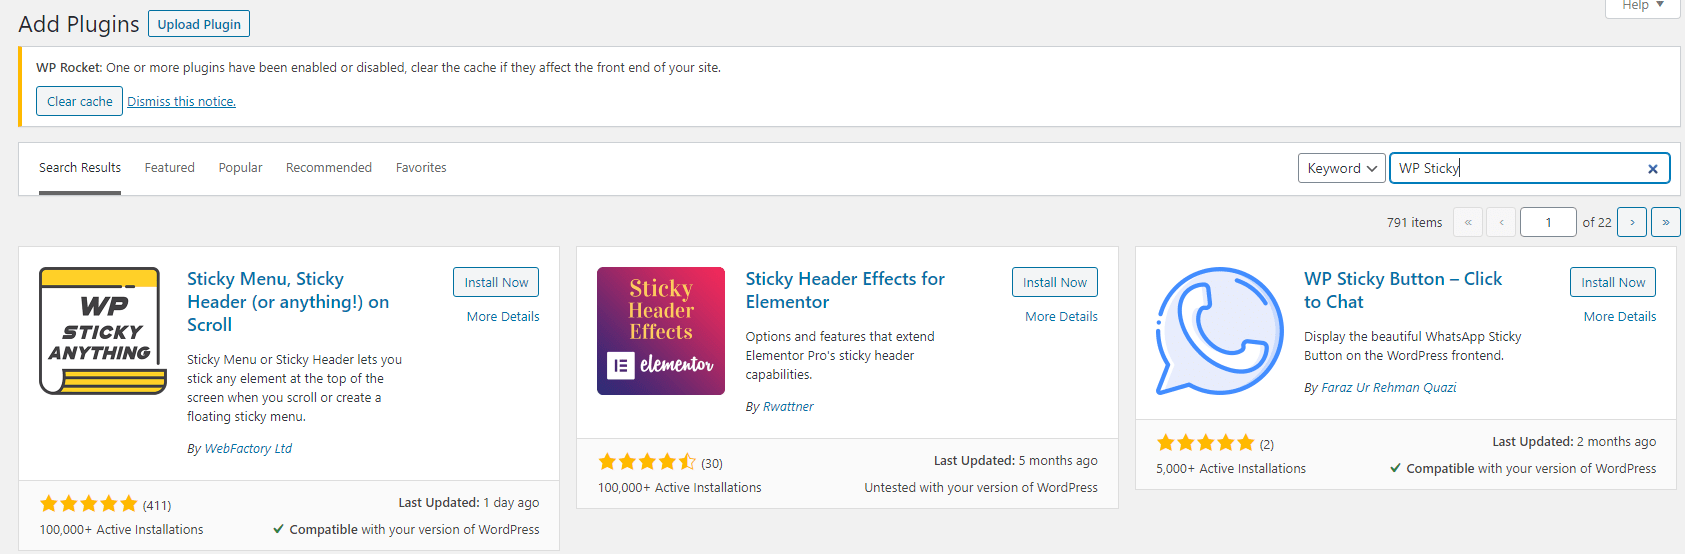
As you can see in the image above, WP Sticky is the most popular plugin for this purpose, with more than 100,000 active users. It is regularly updated, while for other plugins, one can not say the same.
After installing and activating the plugin, go to the plugin settings to start creating your first sticky menu/header.
It can seem complex at first sight, but it is very simple. The only “code” you’ll need is the names of the elements you want to make sticky.
The plugin settings are divided into basic settings and advanced settings. Before we start explaining both, we would like to note that you can simply contact support at any time, and for any problem, they will respond to you within a few hours.
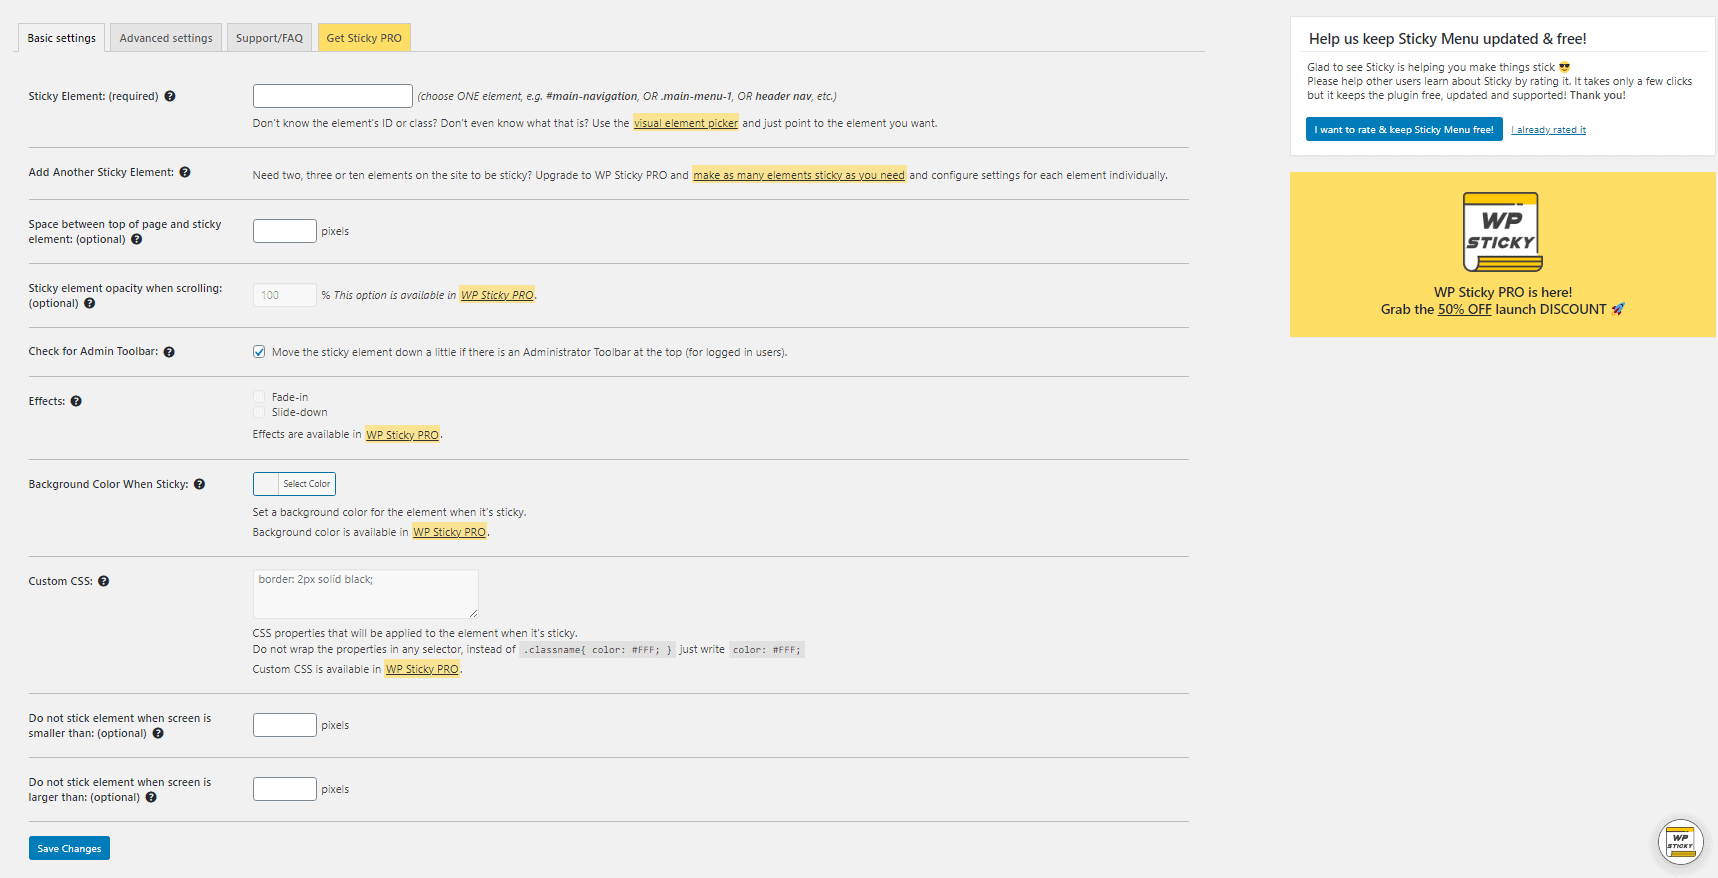
Basic Settings
To create your sticky menu or sticky header, in the basic settings, the first option offered to you is the sticky element. Here you have to write the ID or class of your element.
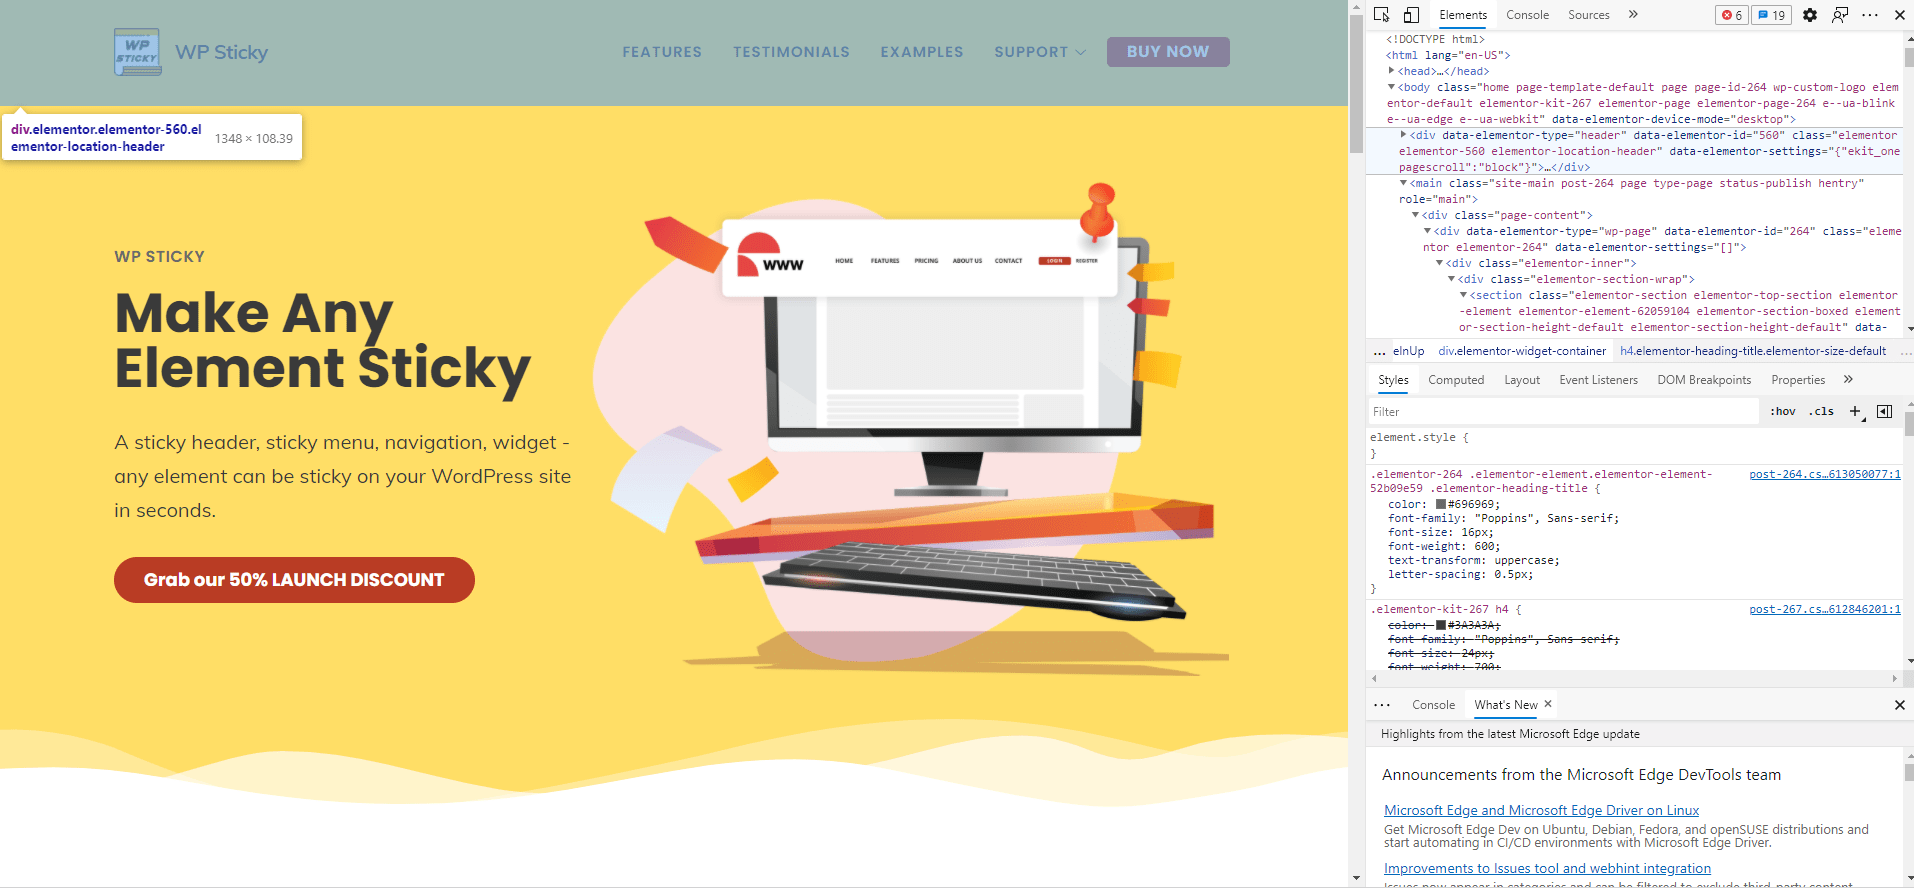
If you are not sure what the name is, you can find it out by right-clicking on your page and selecting the Inspect Element option. After that, just hover your mouse over the element, and its code will be highlighted.
The WP Sticky Pro version doesn’t require this since it works on the drag-and-drop principle.
The next option is the spacing (in pixels) between the top of the page and the sticky element. If you do not want any space there, leave the input field blank.
You can adjust whether your menu or header will fade in or slide down and its opacity while the user scrolls. The plugin also allows you to adjust the background color of the element that is sticky.
People that use the plugin’s Pro version are offered the custom CSS option.
Given the popularity of mobile devices, naturally, this plugin lets you set on which screen sizes your menu or header will not be sticky.
Advanced Settings
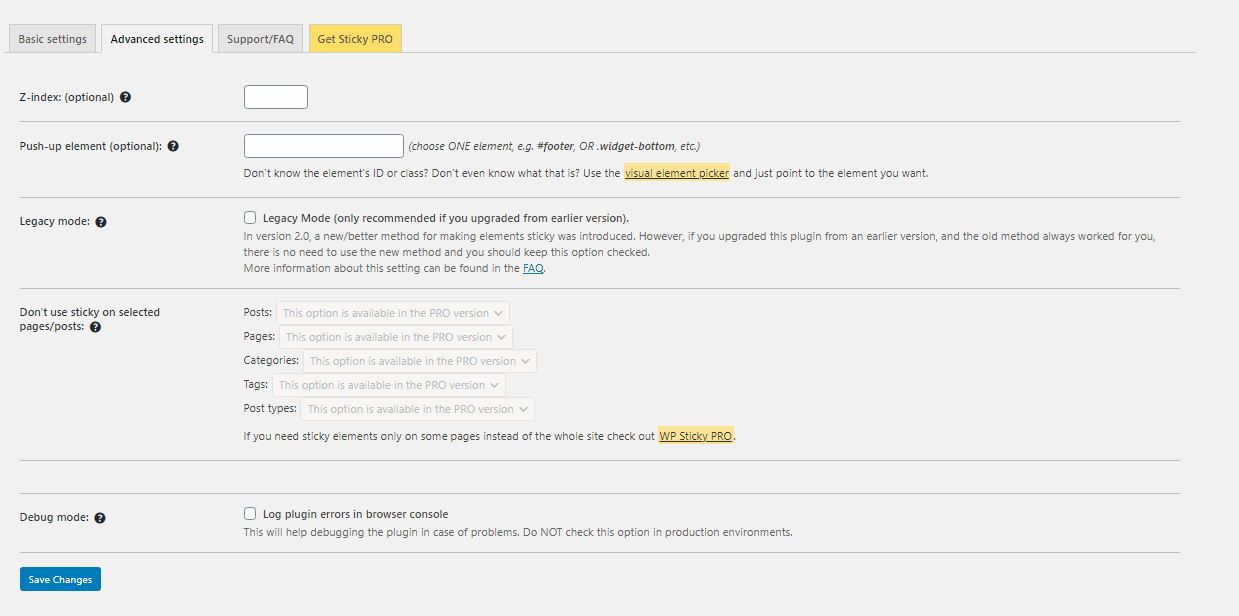
For more advanced users, and we are not only talking about those who know programming but also those who are a little more advanced in WordPress, we have the advanced settings. Here you can adjust the Z-index and define a “push-up” element.
In the Pro version of the WP Sticky plugin, you have the option to simply not use your sticky element on specific pages/posts. For example, if you don’t need a sticky header or sticky menu on your “About Us” page, you can easily set that up in the advanced settings.
In case of any problems, you can enable debug mode, which will help solve them and will also highlight them in the browser console.
WP Sticky PRO
WP Sticky, the best WordPress plugin for creating and handling sticky elements, has some pretty good Pro features. But don’t let that discourage you. WP Sticky isn’t like other plugins; it doesn’t save all the good features for the Pro version.
It simply found a balance so that even without the Pro version, you can make your sticky elements beautiful and function.
Which version you need depends on what you want and what kind of user you are.
Conclusion
If you want to improve and expand your business as well as share your creativity with as many people as possible, having an appealing website is a must. For all those who do not know programming, platforms like WordPress are a blessing. WordPress is designed with customizability and ease of use in mind so that anyone can build websites according to their wishes. As a result, many useful plugins and add-ons have been created to assist users in designing their websites.
WP Sticky is the right option for those looking to add a valuable feature to their website.
Sticky elements have become a design choice used on an increasing number of modern sites!
Having that in mind, adding functionality and useful features to your site shouldn’t be something only people with a coding background can do. This is truly where one can see WordPress’s strength. Making a site using plugins and the drag-and-drop principle allows even those with little or no coding and web development experience to create breathtaking pages.
Overall, it provides the best of both worlds, enabling people without coding backgrounds to demonstrate their creativity via website design while still allowing people confident in their coding skills to do their magic.
With WordPress and WP Sticky, there is no need to spend hours upon hours getting a site up and running; after all, time is money. The sooner your site is ready and visible to visitors, the sooner you can improve its profitability.
We hope that our little guide assisted you, dear reader. Best of luck!