
WordPress is one of the most popular content management systems on the internet today, used by countless bloggers and businesses to create and manage their online presence. While its flexibility and ease of use make it a great choice for many, there are some features that can pose challenges for users who want more control over their website’s content. One such feature is comments.
By default, WordPress allows visitors to leave comments on your posts and pages, which can be a great way to engage with your audience and foster discussions around your content. However, if you find that comments are becoming more trouble than they’re worth – whether due to spam, negativity, or other issues – you may want to disable them altogether.
The importance of disabling comments on WordPress
Disabling comments on WordPress can be crucial for some website owners. Firstly, it helps in preventing spam and inappropriate comments. This is particularly important for websites that are frequently targeted by spammers or those that deal with sensitive information. Disabling comments ensures that any such content doesn’t reach the website’s visitors.
Secondly, disabling comments on WordPress can help in improving website performance by reducing server load time. With increasing numbers of comments, the page loading speed decreases and this can lead to a poor user experience. By disabling comments, website owners can improve their site’s speed performance since there will be fewer requests going back and forth between servers.
Thirdly, disabling comments allows website owners to have better control over the content they publish on their site. They can choose to enable or disable commenting based on individual posts or pages as per the requirement of their business objectives or goals. It also allows them to maintain a positive brand image by ensuring only high-quality content appears on their website without any negative commentary from users that may harm their reputation online.
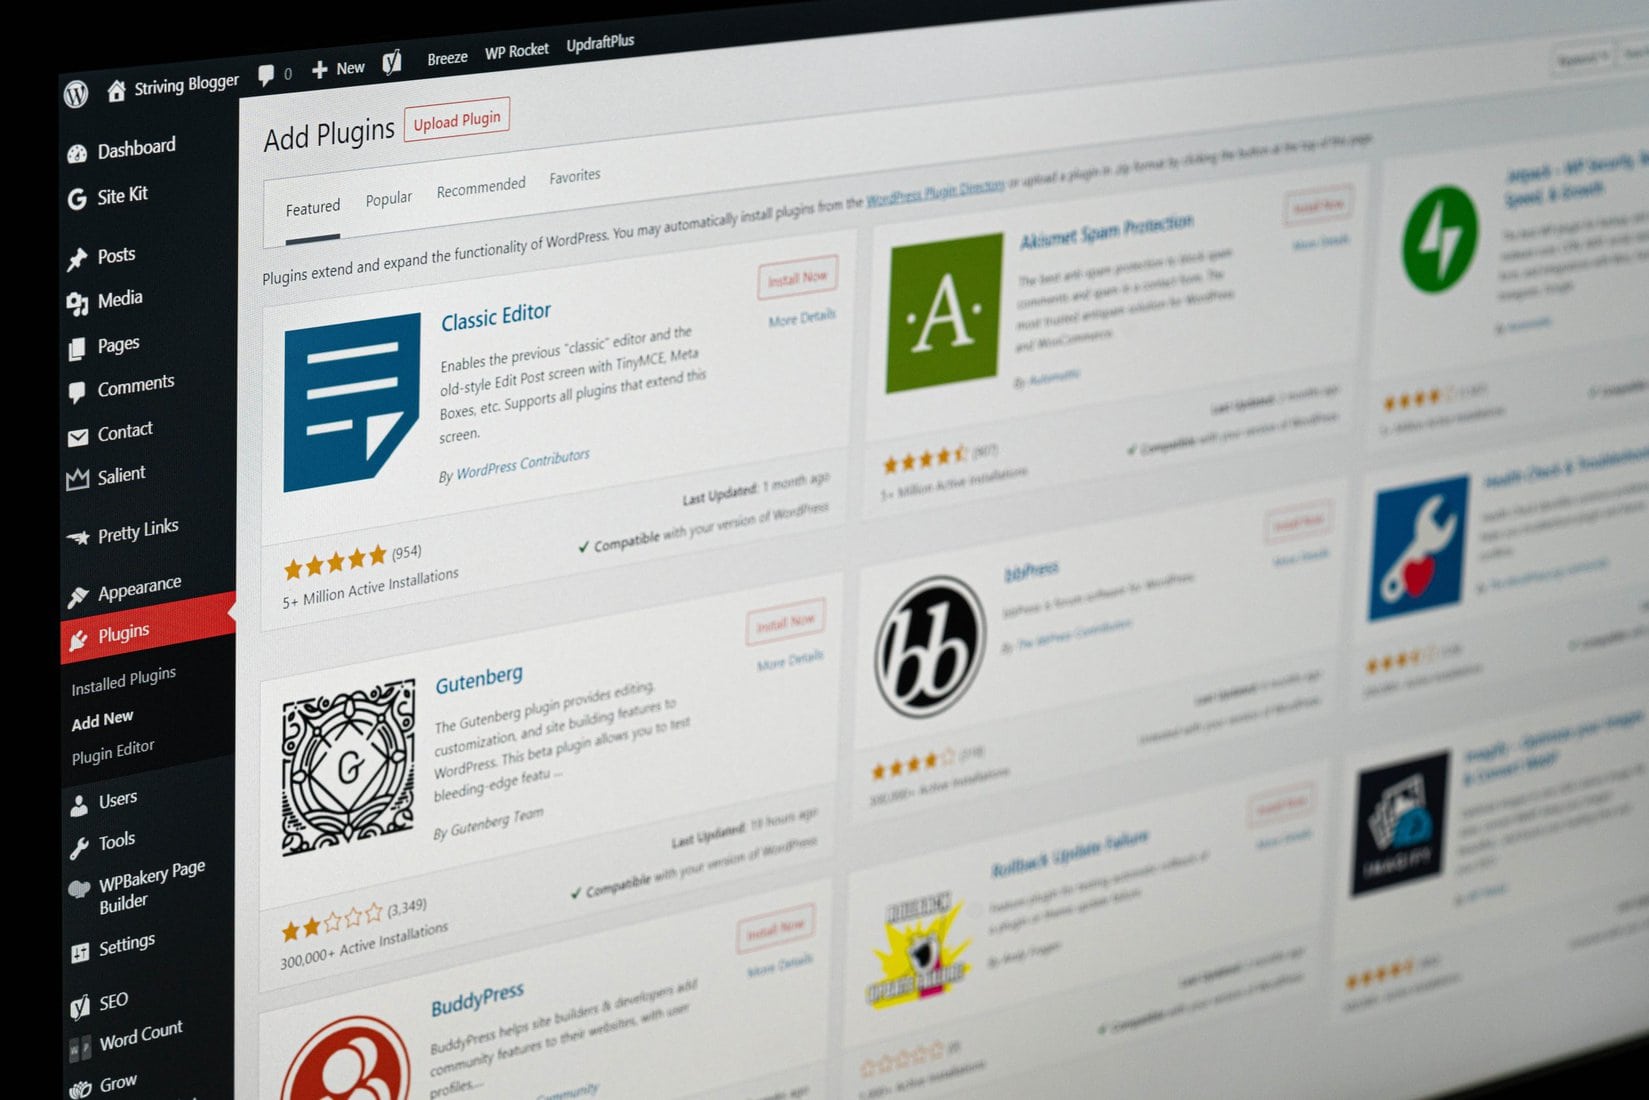
Step 1: Accessing the WordPress Dashboard
Once you have successfully logged into your WordPress account, you can access the WordPress dashboard by clicking on the “Dashboard” button located on the top left-hand corner of your screen. The dashboard is essentially your control center where you can manage all aspects of your website.
The menu bar on the left-hand side of the screen provides access to various sections of the dashboard, such as posts, pages, comments, plugins and themes. You can also customize your dashboard by adding or removing widgets and rearranging them to suit your needs.
One important thing to note is that only users with administrator privileges have access to certain areas of the dashboard such as settings and user management. As a result, it is essential that you ensure that only authorized users are given access to these areas for security reasons.
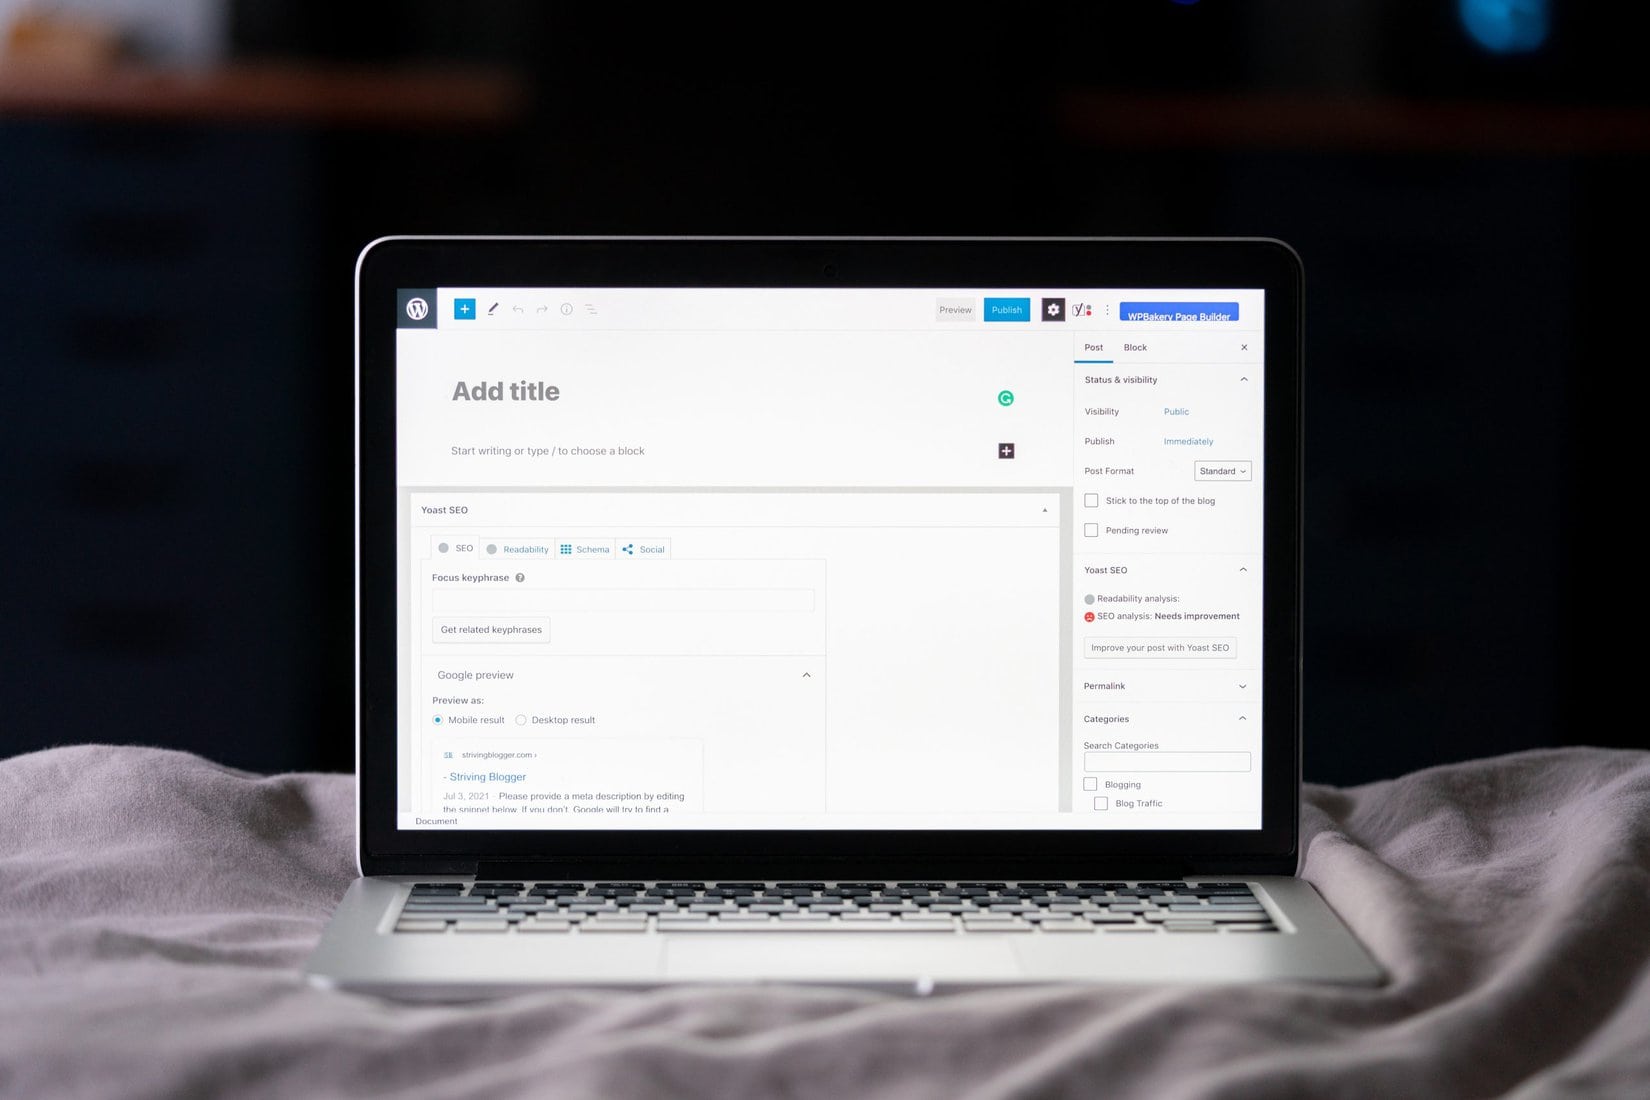
Step 2: Navigating to the Discussion Settings
Once you have logged in to your WordPress dashboard, navigate to the left-hand menu and click on “Settings”. From there, select “Discussion” from the drop-down options. This will take you to the Discussion Settings page where you can configure various settings related to comments on your website.
On this page, you can choose whether or not to allow comments on posts and pages, set up email notifications for when someone leaves a comment, and manage comment moderation and approval settings. Additionally, you can blacklist certain words or users from commenting on your site. It’s important to note that if you disable comments entirely, any previously published comments will still be visible unless they are manually deleted.
Once you have made any desired changes to the Discussion Settings page, be sure to click “Save Changes” at the bottom of the screen. This will ensure that your preferences are applied throughout your website. By navigating through these steps, disabling comments on WordPress can be done quickly and easily.
Step 3: Disabling Comments Globally or Per Post
Disabling comments on WordPress can be done either globally or per post. To disable comments globally, users must go to the Settings tab and click on Discussion. From there, they must uncheck the box that says “Allow people to post comments on new articles” and save their changes.
To disable comments on a specific post, users must edit the post and scroll down to the Discussion section. There, they must uncheck the box that says “Allow Comments” and update their post.
It is important to note that disabling comments may affect engagement with readers and limit feedback from a community. However, some websites may choose to turn off commenting for various reasons such as reducing spam or maintaining a professional image.
Step 4: Managing Approved and Pending Comments
Once you have disabled comments on your WordPress site, it is important to manage any pending or approved comments that may still exist. This includes deleting any inappropriate or spammy comments that were already approved before the comment section was disabled. To do this, navigate to the Comments section in your WordPress dashboard and select “All Comments.” From there, you can sort through all of the comments on your site and delete any that are no longer necessary.
It is also important to keep an eye on any new comments that may be submitted after the comment section has been disabled. These will appear as pending in the Comments section of your dashboard. You can choose to either approve or delete these pending comments as necessary. It is recommended to regularly check for new pending comments to ensure that none slip through unnoticed.
Overall, managing approved and pending comments after disabling the comment section on your WordPress site is crucial for maintaining a clean and safe online space for yourself and your readers. By staying vigilant and regularly monitoring your Comments section, you can prevent unwanted spam or inappropriate content from appearing on your website.
Step 5: Enabling Comment Moderation Notifications
Once you have disabled comments on your WordPress site, it is important to enable comment moderation notifications so that you are aware of any comments that do slip through. This step will ensure that you can quickly and efficiently moderate any unwanted or inappropriate comments on your site.
To enable comment moderation notifications, navigate to the “Settings” tab in the WordPress dashboard and click on “Discussion.” From there, find the section labeled “Email me whenever,” and check the box next to “Anyone posts a comment.” You can also select additional notification options such as when a comment is held for moderation or when a comment is marked as spam.
Enabling these notifications will ensure that you are able to keep up with any new comments on your site and promptly moderate them if necessary. It will also save time by allowing you to avoid regularly checking your website for new comments manually.
Conclusion: The benefits of disabling comments on WordPress.
In conclusion, disabling comments on WordPress can have numerous benefits for website owners. Firstly, disabling comments can help prevent spam and irrelevant comments from cluttering up your website. This not only improves the user experience but also ensures that search engines rank your site higher by keeping it free of low-quality content.
Secondly, when you disable comments, you are taking control of the narrative and preventing toxic conversations from happening on your site. This is especially important for sensitive topics or controversial posts where emotions can run high.
Lastly, disabling comments can save time and resources as you won’t have to spend time moderating them or responding to them. You can focus on creating quality content instead of spending valuable time managing comments.
Overall, while commenting can be a great way to engage with readers, there are times when it’s best to disable them for the benefit of your website and its visitors.