So you are casually doing whatever needs to be done on your website and then BAM, you get a slap in the face by the “Connection timed out” error.
Although it may seem like the end of the world, there’s no need for panic or hysteria because this error like (almost) every other error can be solved using more than one solution.
Your #connection was timed out on your #WordPress site? Don't panic because this article has more than one solution to your problem! Share on XWhen this particular error happens, you get a very unpleasant error message. But unfortunately, the message doesn’t tell you much about the root of the error. So how can you know why in God’s name are you facing it?
Why and when does the error occur
While this error is sort of a complex issue and does require strong technical knowledge in order to fully understand it, to give you a general idea, we can say that this error occurs when your server isn’t able to do any more executions either because of memory or time restrictions. Now, what does that mean?
If you use shared hosting, you are most likely aware that you do share resources with other sites on that server. And if for example, you install plugins and/or themes that are too heavy, or if you run PHP scripts that are too challenging to execute, you risk overburdening the shared server and exhausting your PHP memory.
As you might have guessed, this, in turn, will cause the “Connection Timed Out” error.

Another thing that causes the error is the time limit set for how long your PHP scripts can run. Even though you might think that these limits are completely unnecessary, they are in fact defined for a reason, that reason being to protect web servers from abuse.
What the time limit for a specific site and its PHP scripts is, varies from hosting provider to hosting provider, but then they all have one rule in common. When a script reaches the maximum time limit for execution, the “Connection Timed Out” error occurs.
Now that we got the theoretical part out of the way, it’s time to get to the most important part, the methods of resolution used to handle this error.
How to fix the error

Just like all problems and errors we face on the web, this one also has multiple solutions. What this means is that if we list multiple solutions and the first one you try doesn’t work, continue trying out the other ones too, because you never know which one will do the trick.
But before attempting any of them and most importantly, before making any changes to your site, be sure to create a backup of your site and database in case you accidentally create an even bigger issue.
With that said, let’s get into exploring the possible solutions!
Update WordPress to the latest version
Updates are important, and if you neglect to make them, that could lead to many unwanted errors on your site including the “Connection Timed Out” error.
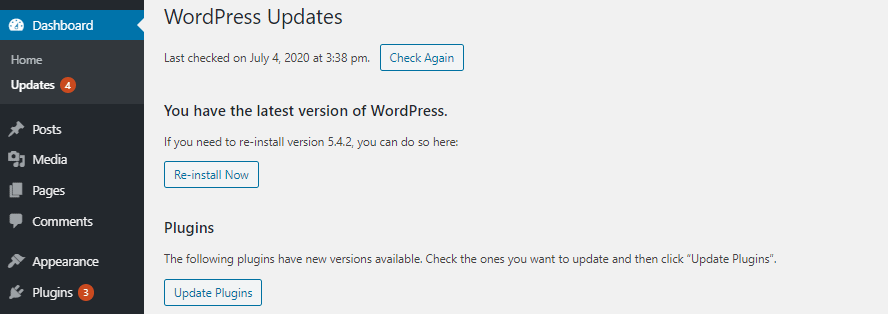
Luckily, if there are any updates that need to be done, all you have to do is go into your WordPress dashboard, then the Updates tab, and finally click the Update Now option.
Switch to the default WordPress Theme
Although it is very simple, switching to the default WordPress theme is the most widely used solution for this problem.
It is so effective because in a lot of cases themes (which we often see as absolutely harmless) can be faulty, not coded for minimum optimization, and stubborn in sending lots of requests to your server.
So in an attempt to remove the error and rule out all theme related issues, simply switch to the latest default WordPress theme.
Increase the maximum execution time for your PHP scripts

As we’ve mentioned earlier, your PHP scripts executing longer than your maximum execution time is one of the leading causes for this error. The good news is, this time limit can be increased. How?
Use your favorite FTP client and connect to your WordPress website. Next, in the series of files that make up your site, find the .htaccess file. Once you do, just add the following line to it:
php_value max_execution_time 300
That line of code will simply set the value of execution to 300 seconds or 5 minutes.
Deactivate plugins
As much as we love plugins, we have to admit they are often the root of many problems, usually because of their incompatibility with other plugins or WordPress itself.
In those situations, it is advised to deactivate all your plugins and then reactivate them one by one. Doing this allows you to find the faulty plugin, and remove it from your site.
When it comes to the task of deactivating plugins, probably the easiest and quickest way to do it is using the WP Reset plugin.
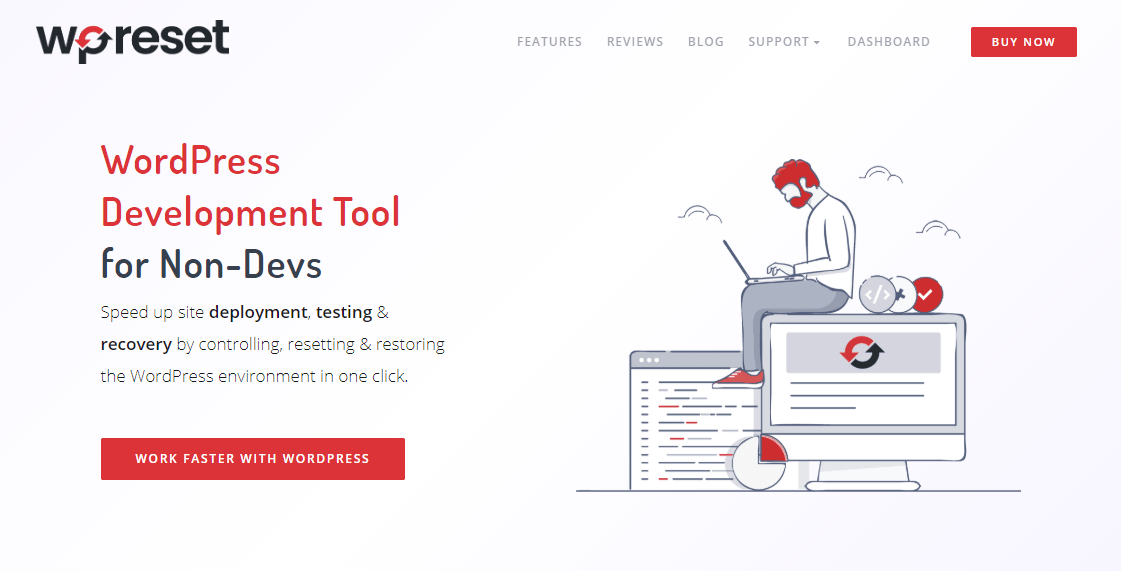
Why this plugin in particular? Well, because WP Reset gives you the option to disable all your plugins and/or themes in just a click.
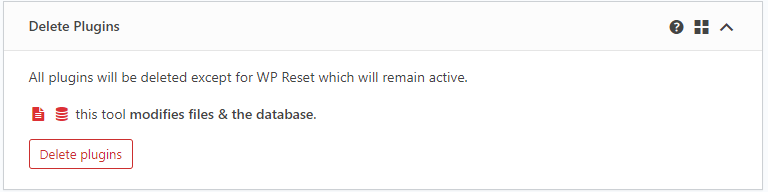
On top of all that, it comes with something called the Emergency Recovery Script using which you can delete plugins and other things from your site, even when you no longer have access to it or when you have been locked out of your admin dashboard.

The plugin has a range of other features as well, so it’s definitely something worth checking out.
Increase PHP memory limits
To increase the limit of available memory, which is a common cause of this error, you need to edit your wp-config.php file.
This file is located in the root folder of your website and the only thing you need to do is add the line of code that is highlighted below and save the file.
But keep in mind that this method will work only if your hosting provider allows you to increase the memory limit yourself. And since unfortunately some won’t, you will need to contact them and ask them to do it for you.
define('WP_MEMORY_LIMIT', '64M')
As you might have guessed, doing this will increase the memory limit to 64MB.
Clear browsing data
Last but not least, we have a very simple solution that just might do the trick and that solution is to clear your browsing data.
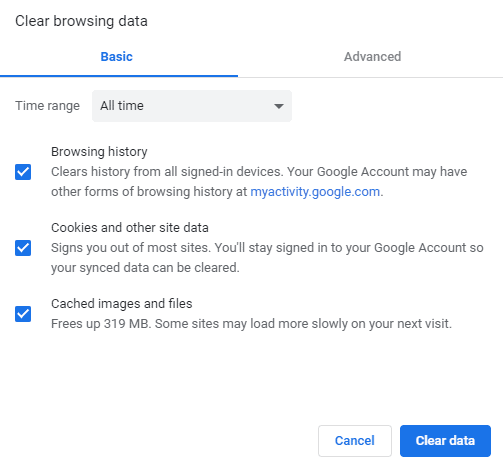
Clearing browsing data is pretty straightforward and consists of the following steps, at least when it comes to the Google Chrome browser:
- Open the browser and click on the three vertical dots in the top right
- On the displayed menu, click more tools, and then clear browsing data
- On the next page you are redirected to, choose what type of browsing data you want to delete and from which time range
- And lastly, click the Clear data button to complete the process
Conclusion
In this article, we presented you with the most common and widely used methods you can use to get rid of the “Connection timed out” error.
With that said, we hope we managed to at least make this error less of a mystery to you. But if we managed to help your resolve it, even better!
Thanks for reading, and please don’t hesitate to leave any feedback in the comments!