


If Oculus Link isn’t working when you connect your Meta Quest headset to your PC, you’re not alone. Many users run into challenges when trying to make the most of PC VR through Oculus Link. Whether your headset isn’t being detected or the display shows a black screen, these issues can be frustrating. Fortunately, there are several proven fixes that can help restore your VR experience and get you back to gaming or productivity in no time.
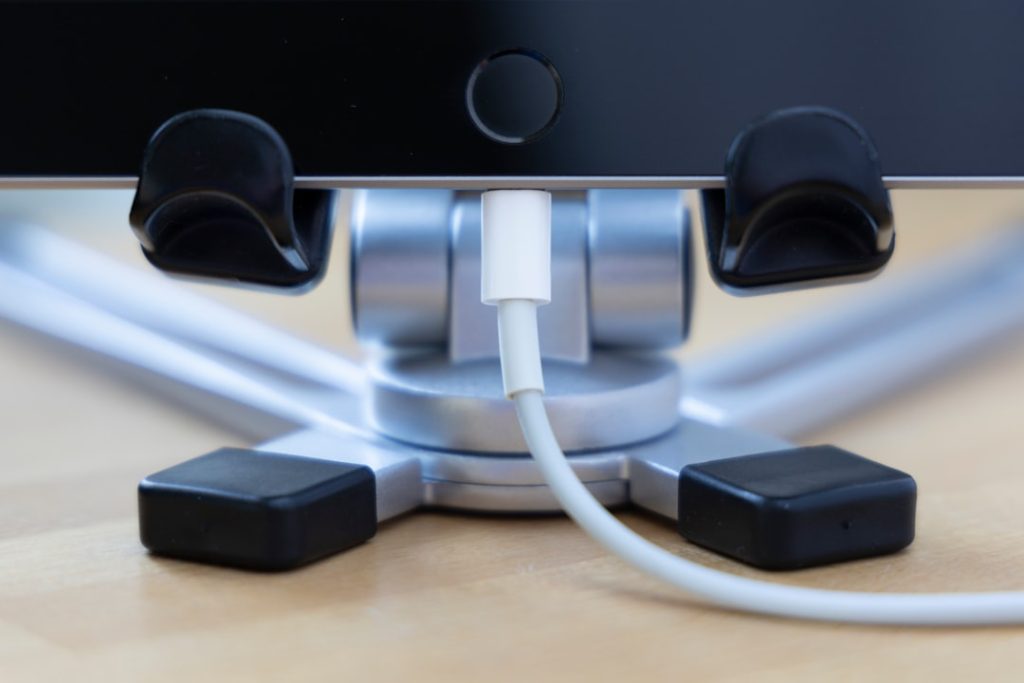
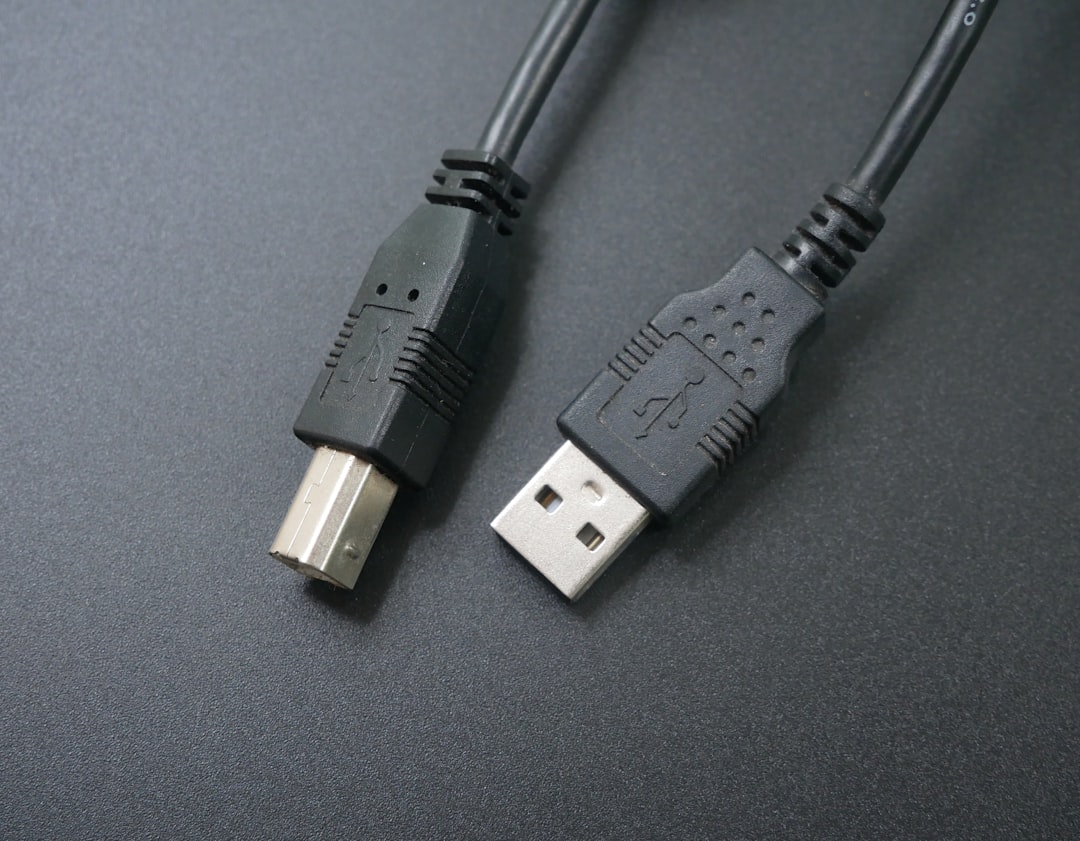
1. Check the USB Cable and Port
Not all USB cables are created equal—particularly when it comes to Oculus Link. Ensure you are using a high-quality USB 3.0 cable, like the official Oculus Link cable or a certified third-party alternative. Also, plug the cable into a USB 3.0 port on your PC, avoiding USB hubs or front-facing ports, which may not deliver stable performance.

2. Enable Oculus Link on the Headset
After connecting the USB cable, you should see a prompt within the Quest headset asking if you want to enable Oculus Link. If you don’t see this prompt:
- Unplug and restart the headset.
- Reconnect and check permissions again.
- Make sure Oculus software is running on your PC.
3. Update Software and Firmware
Compatibility issues often arise from outdated software. Make sure the following are fully updated:
- Oculus PC software: Open the Oculus app on your PC and allow any pending updates to download.
- Quest headset firmware: Keep your headset connected to Wi-Fi and turned on periodically to download the latest firmware.
- Graphics drivers: Visit Nvidia or AMD’s official site to download the most current GPU drivers.
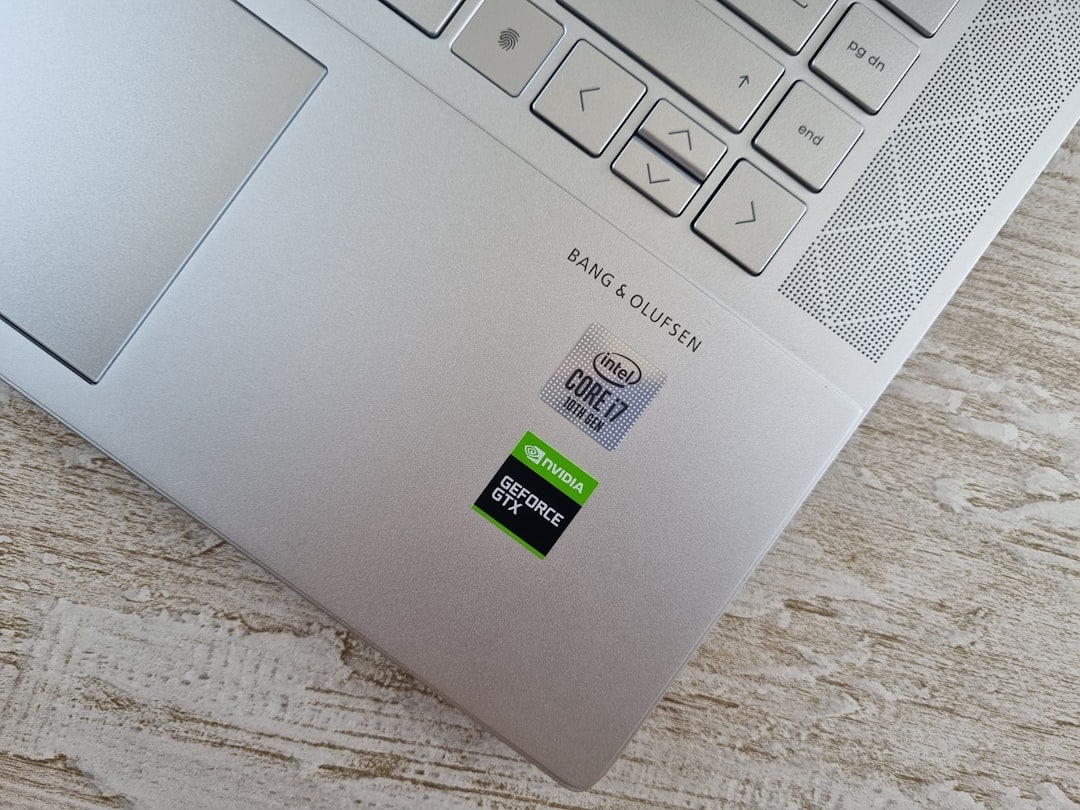
4. Check Graphics Card Compatibility and Settings
Ensure your PC meets the minimum specifications to run Oculus Link, particularly if you’ve recently upgraded hardware. If your GPU has both integrated and discrete cards (common in laptops), force your Oculus software to use the dedicated graphics card.

5. Disable USB Power Saving
Windows may automatically limit power to USB ports to save energy, which can disrupt Oculus Link. Disable USB power saving to ensure a constant connection:
- Go to Device Manager on your PC.
- Open the Universal Serial Bus controllers section.
- Right-click each USB Root Hub and go to Properties > Power Management.
- Uncheck “Allow the computer to turn off this device to save power.”
6. Try the Oculus Air Link
If wired connections remain unreliable, consider using Oculus Air Link as a wireless alternative. It requires a strong Wi-Fi 5 (preferably Wi-Fi 6) connection and your PC and headset must be on the same network. Within the headset and PC app, enable Air Link and pair the devices accordingly.
7. Factory Reset (Last Resort)
If all else fails, consider performing a factory reset on your Oculus Quest. This should only be done if other options have been exhausted, as you will lose local headset data.
Frequently Asked Questions (FAQ)
-
Q: Why is my Oculus Link not showing up on my PC?
A: This can happen due to a low-quality cable, outdated software, or problems with USB ports. Check the cable and make sure the Oculus software is running on your PC. -
Q: Does my PC need a specific GPU for Oculus Link?
A: Yes, your PC must meet the minimum VR requirements. Oculus works best with modern Nvidia or AMD GPUs. Integrated graphics are typically unsupported. -
Q: Can I use any USB-C cable for Oculus Link?
A: No, only USB 3.0 or better cables that support data transfer and power are supported. Longer or low-quality cables may disrupt the Link connection. -
Q: Will using Oculus Air Link solve the problem?
A: It can, provided your home Wi-Fi setup is strong and stable. It’s a solid alternative for users who can’t get a stable wired connection. -
Q: How do I know if my Oculus software is up to date?
A: Open the Oculus PC app and go to Settings > General. If updates are available, they will install automatically or prompt you to do so.
With these proven fixes, Oculus Link should work seamlessly, allowing users to enjoy the full potential of PC VR. Troubleshooting VR can be a bit of a process, but once resolved, the experience is well worth the effort.