


Upgrading PC RAM is one of the most practical ways to improve system responsiveness, reduce slowdowns, and support demanding workloads such as gaming, video editing, software development, and heavy multitasking. The process is usually simple, but choosing the wrong memory can lead to wasted money, unstable performance, or a computer that fails to boot. A successful upgrade depends on understanding RAM type, speed, capacity, motherboard support, CPU compatibility, and physical installation.
TLDR: A RAM upgrade should begin with checking the motherboard and CPU specifications to confirm the supported memory type, capacity, and speed. The buyer should match the correct generation, such as DDR4 or DDR5, and use compatible modules with suitable timings and voltage. For best results, memory should be installed in the correct slots, enabled with XMP or EXPO if supported, and tested for stability after installation.
Understanding What RAM Does
Random Access Memory, commonly called RAM, is the temporary working space a computer uses while running applications. When a PC has enough RAM, programs can remain open without forcing the system to rely heavily on slower storage drives. When available memory runs low, the computer may begin using the SSD or hard drive as virtual memory, which can cause noticeable lag.
More RAM does not always make every task faster, but it can greatly improve performance when the system is memory constrained. A PC with 8 GB may struggle with modern games, browser tabs, creative software, and background apps. A system with 16 GB is suitable for many general users and gamers, while 32 GB or more is often preferred for professional workloads, virtual machines, large projects, and content creation.

Step 1: Identify the Current RAM
Before any purchase, the user should identify the RAM already installed in the system. Important details include capacity, generation, speed, timing, voltage, number of sticks, and available slots. This information helps determine whether it is better to add matching modules or replace the existing memory entirely.
On Windows, this can be checked through Task Manager by opening the Performance tab and selecting Memory. This view shows total capacity, speed, slots used, and form factor. More detailed tools, such as hardware information utilities, can show memory timings, manufacturer, part number, and whether the system is using single channel or dual channel mode.
For a desktop PC, the user can also inspect the motherboard directly after powering off the computer and unplugging it. Most RAM modules have a label showing capacity and speed. However, software checks are safer and easier for beginners.
Step 2: Check Motherboard Compatibility
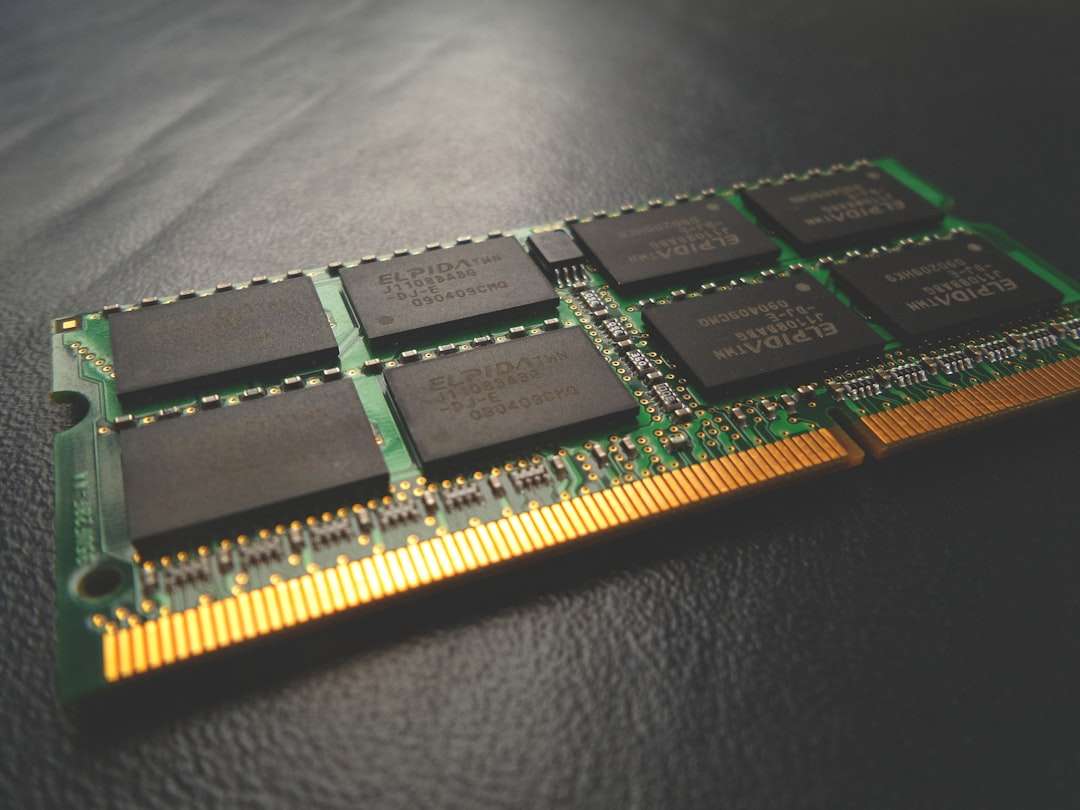
The motherboard determines which RAM generation and form factor can be installed. A DDR4 motherboard cannot accept DDR5 memory, and a DDR5 motherboard cannot accept DDR4 memory. The physical notch positions are different, preventing accidental installation. Desktop systems normally use DIMM modules, while laptops and some compact PCs use SO DIMM modules.
The motherboard manual or manufacturer website should list the supported memory specifications. The key items to check are:
- RAM generation: DDR3, DDR4, or DDR5, depending on the platform.
- Maximum capacity: The highest total RAM amount the board can support.
- Maximum speed: Official and overclocked memory speed ratings.
- Number of slots: Usually two or four on consumer desktops.
- Supported module sizes: For example, 8 GB, 16 GB, 32 GB, or 48 GB sticks.
Many manufacturers also provide a QVL, or qualified vendor list. This list includes RAM kits tested with the motherboard. A memory kit does not always need to appear on the QVL to work, but using listed memory can reduce compatibility risks, especially for high speed kits.
Step 3: Confirm CPU Memory Support
The processor also affects memory compatibility. Modern CPUs contain the memory controller, which means they influence supported speeds, channel configuration, and stability at higher frequencies. A motherboard may advertise very high RAM speeds, but whether those speeds work reliably can depend on the CPU model and memory controller quality.
For example, standard supported speeds are often lower than the speeds printed on performance memory kits. A DDR5 kit rated at 6000 MT/s may require enabling a profile in BIOS, while the processor’s official memory support could be lower. This does not mean the kit cannot work, but it means the rated speed may be considered an overclock.
When upgrading, the buyer should check both the motherboard support page and the CPU specifications. This is especially important when building around newer DDR5 systems, where memory training and stability can vary more than with mature DDR4 platforms.
Step 4: Choose the Right Capacity
Capacity should be chosen based on actual usage rather than marketing claims. A lightweight office PC may perform well with 8 GB, but 16 GB is now a more comfortable baseline for general use. Gaming systems should usually have at least 16 GB, while 32 GB provides more headroom for newer titles, streaming, voice chat, and background tools.
Professional users may need more. Video editors working with high resolution footage, 3D artists, engineers, data analysts, and developers running virtual machines can benefit from 64 GB or even 128 GB. However, unused RAM does not automatically increase performance. If a system rarely exceeds 12 GB of memory usage, upgrading from 32 GB to 64 GB may not produce a noticeable improvement.
Step 5: Understand RAM Speed and Timings
RAM speed is typically shown as DDR4 3200, DDR5 5600, DDR5 6000, or similar. Technically, these values represent transfer rate in MT/s, though they are often called MHz in product listings. Higher transfer rates can improve bandwidth, which may help gaming, integrated graphics, compression, rendering, and some productivity workloads.
Timings describe memory latency. They are shown as values such as CL16, CL18, CL30, or CL36. Lower latency is generally better, but speed and timings must be considered together. For example, a faster DDR5 kit with a higher CAS latency may still perform well because of its increased bandwidth.
For most users, a balanced kit is better than chasing the highest possible speed. On DDR4 systems, 3200 MT/s to 3600 MT/s is often a strong range. On DDR5 systems, 5600 MT/s to 6400 MT/s is common for many modern platforms, though the ideal choice depends on motherboard and CPU support.

Step 6: Match Kits Carefully
Mixing RAM can work, but it is not always ideal. Different sticks may have different speeds, timings, voltages, ranks, or memory chips. When mixed, the system usually runs all modules at the speed of the slowest stick, and sometimes manual tuning is needed to maintain stability.
The most reliable approach is to buy a complete RAM kit containing two or four matched modules. These sticks are tested together and designed to run at their advertised profile. If the user wants 32 GB, a 2 x 16 GB kit is usually preferable to combining unrelated modules. If the motherboard has four slots, using two sticks can also leave room for future expansion.
Dual channel operation is important. Two matched sticks installed in the correct slots can double the memory channel bandwidth compared with a single stick. On many motherboards, the preferred slots are the second and fourth slots from the CPU, often labeled A2 and B2, though the manual should always be checked.
Step 7: Prepare for Installation
RAM installation is straightforward, but basic safety steps matter. The computer should be shut down completely, unplugged from power, and placed on a stable surface. The installer should touch a grounded metal part of the case or use an antistatic wrist strap to reduce the risk of electrostatic discharge.
The side panel should be removed to access the motherboard. If replacing existing RAM, the retaining clips at the ends of the memory slot should be opened, then the module should be pulled straight out with gentle, even pressure. New RAM should be handled by the edges, not by the gold contacts or chips.
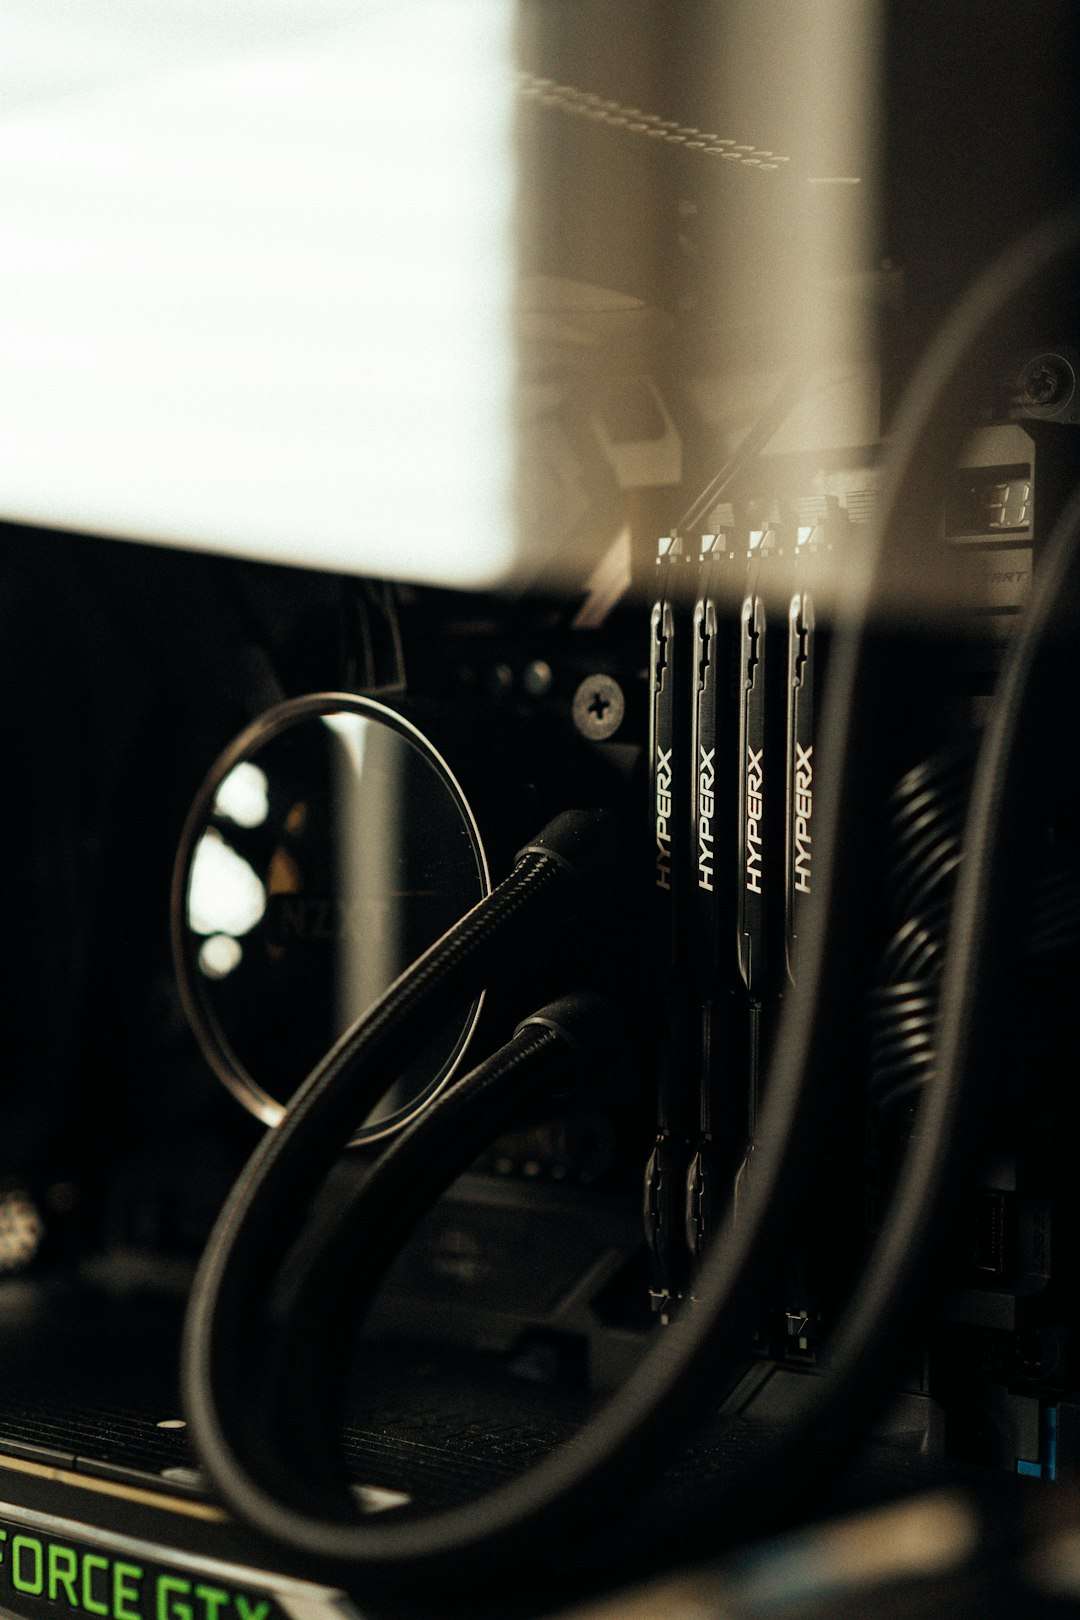
Step 8: Install the RAM in the Correct Slots
Each RAM stick has a notch that aligns with the slot. The module should be positioned correctly and pressed down firmly until the retaining clips click into place. Some motherboards have a clip on only one side, while others have clips on both sides. If the module does not seat fully, the computer may fail to boot.
Slot placement is especially important when using two sticks in a four slot motherboard. The manual should identify the recommended configuration. In many cases, using the wrong slots still allows the PC to boot, but the system may run in single channel mode or show reduced stability.


Step 9: Enable XMP or EXPO
After installation, the computer should be started and the BIOS or UEFI should be opened. Newly installed RAM often runs at a default standard speed rather than its advertised speed. For performance memory, the user usually needs to enable an automatic memory profile.
- XMP: Commonly associated with Intel memory profiles, though it may work on some AMD boards.
- EXPO: AMD’s memory profile standard for compatible DDR5 kits.
- DOCP or EOCP: Vendor specific names sometimes used to load memory profiles.
Enabling the correct profile applies the rated speed, timings, and voltage. If the system becomes unstable after enabling the profile, the user may need to update the BIOS, choose a lower speed, or manually adjust settings. Stability is more important than a small benchmark gain.
Step 10: Test Stability and Performance
Once the system boots, the user should confirm the RAM is detected correctly. Windows Task Manager, BIOS, or hardware monitoring software can show total memory and speed. If the expected capacity is missing, one module may not be seated properly, a slot may be disabled, or compatibility may be limited.
Stability testing is strongly recommended. Memory errors can cause crashes, corrupted files, application failures, and random restarts. Memory diagnostic tools can run tests to detect problems. A system that passes short tests and normal daily use is generally ready, but professional workstations may benefit from longer testing sessions.
Common Upgrade Mistakes
- Buying the wrong generation: DDR4 and DDR5 are not interchangeable.
- Ignoring motherboard limits: Some boards cannot support very large modules or high speeds.
- Mixing unrelated sticks: This can cause lower speeds or instability.
- Forgetting to enable XMP or EXPO: The RAM may run far below its rated speed.
- Installing modules in the wrong slots: This can disable dual channel performance.
- Assuming more RAM always means faster performance: Capacity helps only when the workload needs it.
Final Thoughts
A RAM upgrade can extend the useful life of a PC and make everyday computing feel smoother. The best upgrade is not simply the largest or fastest kit available, but the one that fits the motherboard, CPU, workload, and budget. By checking compatibility first, selecting a matched kit, installing it correctly, and verifying stability, a user can avoid most common problems and enjoy a reliable performance improvement.
FAQ
How much RAM does a modern PC need?
For general use, 16 GB is a comfortable baseline. Gamers and heavy multitaskers often benefit from 32 GB, while professional workloads may require 64 GB or more.
Can DDR4 RAM be used in a DDR5 motherboard?
No. DDR4 and DDR5 use different physical layouts and electrical designs. A motherboard supports one memory generation, not both, unless it is a rare platform with separate versions for each type.
Is faster RAM always better?
Not always. Faster RAM can improve performance in some workloads, but compatibility, stability, timings, and price also matter. A balanced kit is usually better than an extremely fast kit that is difficult to run reliably.
Should old RAM be mixed with new RAM?
It can be done, but it is not ideal. Mixed modules may run at lower speeds or cause instability. A matched kit is the safer choice, especially for gaming and professional systems.
Why does RAM run slower than advertised after installation?
Most performance RAM defaults to a standard safe speed. The user usually needs to enable XMP, EXPO, or a similar memory profile in BIOS to reach the rated speed.
What happens if RAM is installed in the wrong slots?
The system may still boot, but it may not run in dual channel mode. This can reduce memory bandwidth and hurt performance. The motherboard manual should be checked for the correct slot layout.
Can a RAM upgrade fix a slow computer?
It can help if the system is running out of memory. If the slowdown is caused by an old hard drive, overheating, malware, or a weak processor, RAM alone may not solve the problem.
Is 32 GB RAM worth it for gaming?
For many modern gaming PCs, 32 GB is a strong choice. It provides extra room for newer games, background apps, streaming tools, and future software demands.