When it comes to creating dynamic, eye-catching animations of real-world locations, Google Earth Studio stands out as one of the most powerful tools available today. Designed with both amateur and professional content creators in mind, Earth Studio integrates easily into your existing workflow and allows for a wide range of customization. Whether you’re producing content for documentaries, news, or social media, this tutorial will guide you through the essentials and best practices for launching a new project and creating stunning visuals specific to U.S. landscapes.
Why Use Google Earth Studio?
Google Earth Studio leverages Google Earth’s vast 3D satellite imagery and terrain data to allow you to animate geographic places with surprising precision. This makes it an invaluable tool for:
- TV news graphics and broadcast packages
- Social media content creation
- Geographic data visualization
- Explainer videos and documentaries
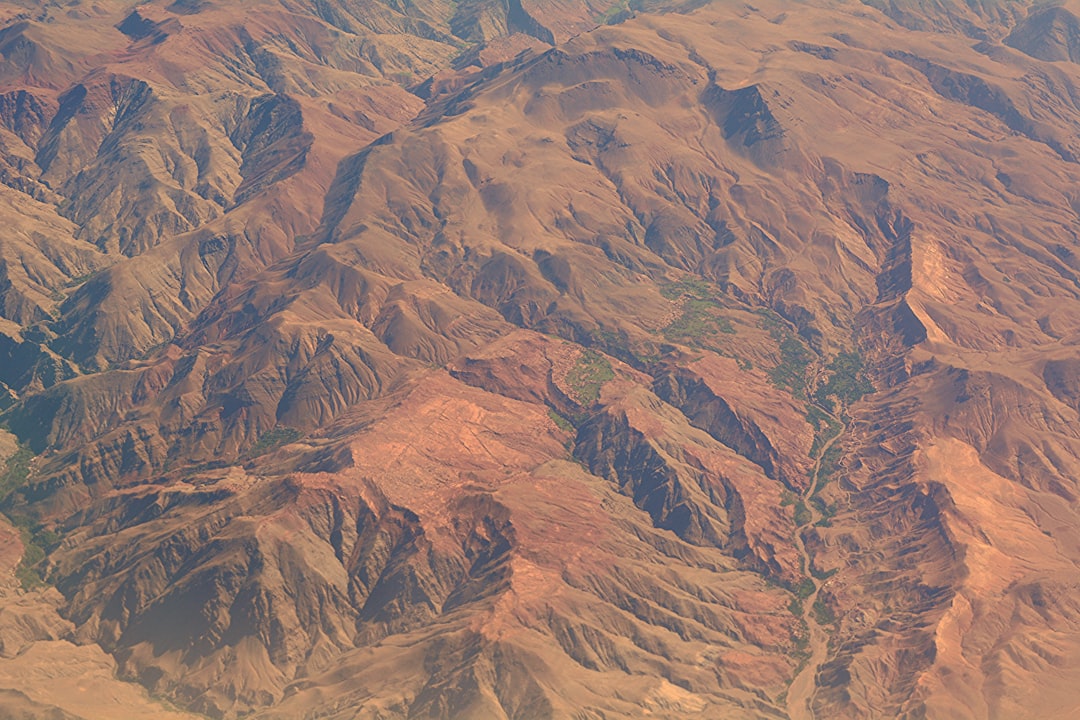
Especially in the U.S., where diverse geography — ranging from dense urban areas to stunning natural landmarks — can be highlighted, Earth Studio’s tools create immersive storytelling opportunities.
Getting Started: Opening a New Project
To launch your first project, visit Google Earth Studio and sign in with your Google account. Once inside, you’ll have the option to start a new project using pre-built templates or begin from scratch. Here’s how to set up a new project the right way:
- Select a Template: For beginners, templates like “Zoom to Location,” “Orbit,” and “Fly To” are great ways to understand motion paths and camera behavior.
- Set Project Parameters: Define frame rate, resolution (up to 4K), and duration. We recommend starting with 30 fps and 1920×1080 resolution for a balance between quality and file size.
- Name and Save Your Project: Keep names descriptive, especially if you’re creating multiple clips (e.g., “NYC_Flyover_Intro”).
Earth Studio auto-saves projects in your browser cache, but you can also export the JSON project file for backup or version control.
Best Practices for Captivating U.S.-Based Animations
The United States offers a wide array of geographic diversity that is ideal for visual representation. From iconic skylines to vast canyons, here are some expert tips to make your animations stand out:
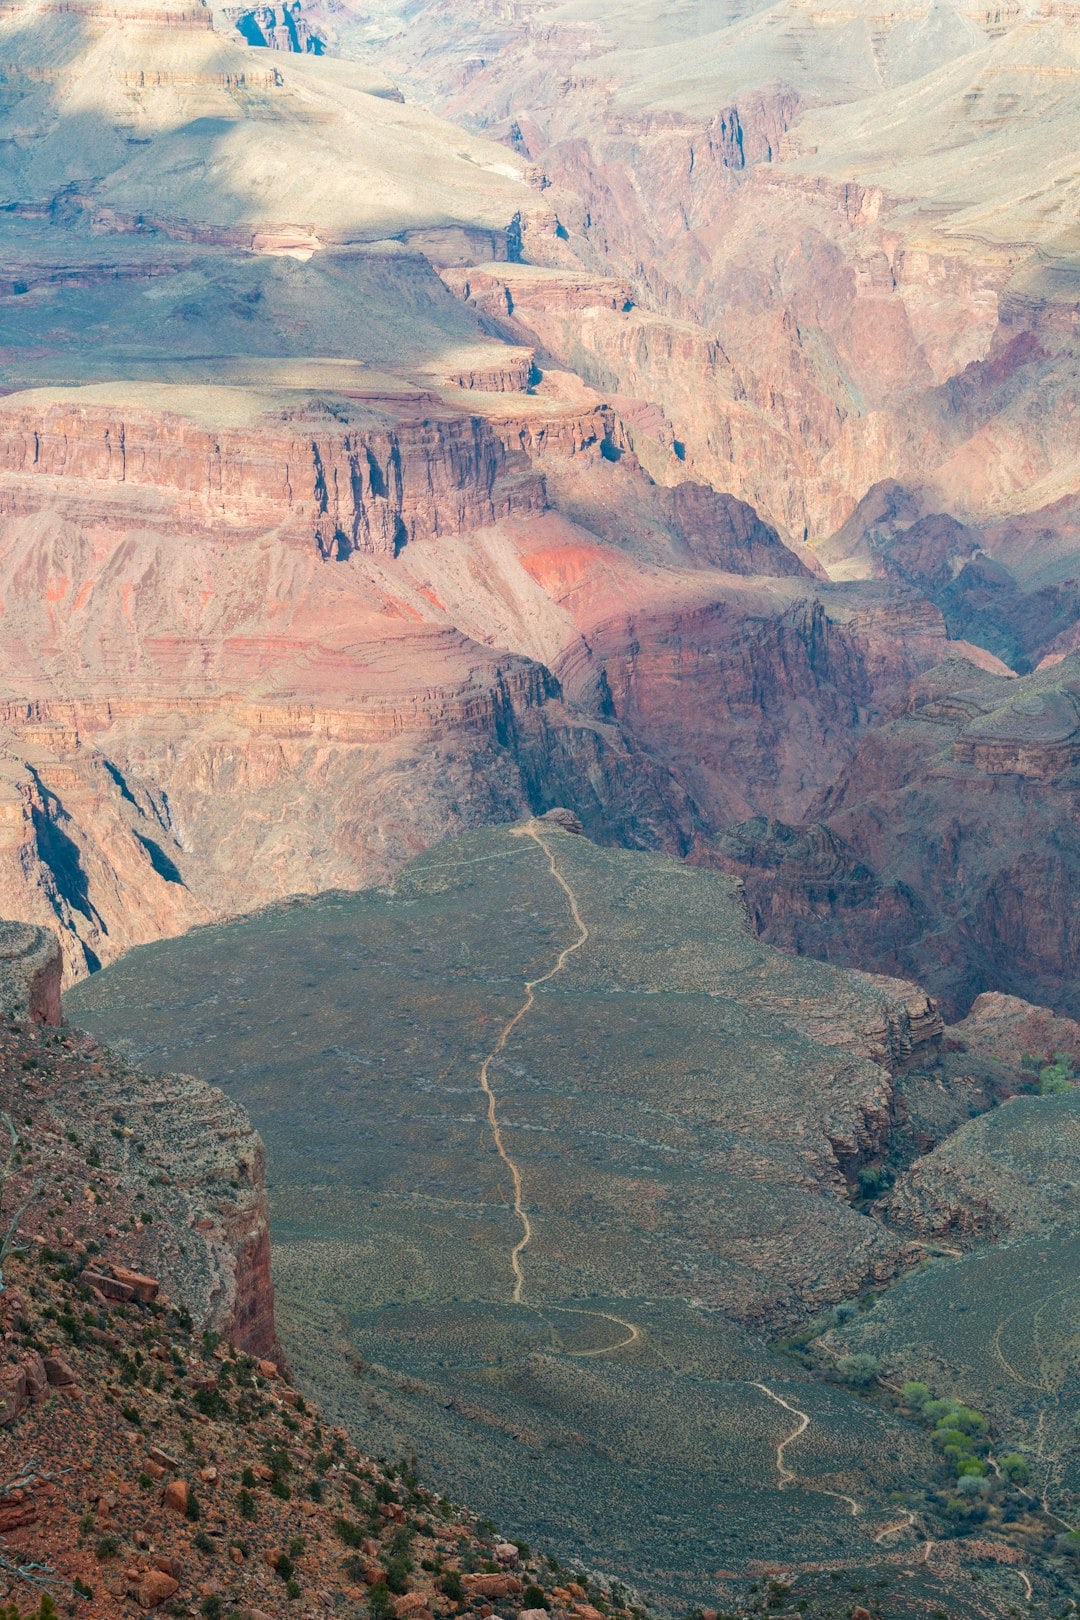
1. Focus on Landmarks and Natural Beauty
Whether you’re zooming into the Grand Canyon, orbiting around the Statue of Liberty, or flying through Manhattan, choosing a compelling subject is essential. Focus on well-known or visually interesting features that viewers can easily recognize.
2. Use the Right Template for the Shot
Different templates cater to different types of movements:
- Orbit: Ideal for giving a 360-degree view of a landmark or geographic area.
- Zoom: Perfect for transitioning from a global or national scale directly into a specific city or region.
- Custom: Offers full control for advanced users who want to plot motion paths and camera angles manually.
3. Fine-Tune Keyframes for Smooth Motion
Earth Studio uses keyframes to guide camera movements. The secret to a professional-grade animation lies in the smooth placement and spacing of keyframes. Use easing options to make transitions feel natural — avoid sudden or jerky movements unless they serve a creative purpose.
4. Incorporate Timing and Rhythm
Each animation should align with the mood and pacing of your final production. For instance, an intense news segment might benefit from quick pans and zoom-ins, while a scenic nature documentary might use slow, graceful flyovers to allow viewers to absorb the scenery.
5. Maintain Geographic Orientation
Always be mindful of geographical accuracy. For instance, when showcasing coastal cities like San Francisco or Miami, make sure the orientation reflects a realistic approach (i.e., planes do not typically fly in from the north when the airport is on the southern coast).
Enhancing Visual Appeal
Raw movements are only part of the story. Making your animations visually stunning requires close attention to detail, lighting, and composition.
- Adjust Time of Day: Use the sunlight settings to recreate the golden hour for warmer tones, or early morning for a fresher look. Shadows help emphasize terrain and add depth.
- Composition Techniques: Follow the rule of thirds. For example, place a skyscraper off-center or align the path of a road with the lower third of the screen to guide the viewer’s gaze organically.
- Color Grading: While Earth Studio exports ungraded footage, you can adjust contrast, saturation, and tints in post-production to give your animation a distinct feel.

Exporting and Integrating with Other Software
After finishing your animation, exporting is the next step. Earth Studio provides two main export options:
- Frame Sequence Export: This exports each frame as a PNG, which can be compiled in editing software like Adobe After Effects or Premiere Pro.
- Video Export via Earth Studio Plug-In: If you’re working with Adobe software, the plug-in streamlines the process. With camera data export (JSON files), you can apply motion graphics or overlays that mirror the camera’s movement precisely.
For most professional workflows, assembling your animation in After Effects allows for crucial post-production enhancements like text overlays, transitions, or even weather effects.
Legal and Usage Considerations
Before planning to monetize or broadcast Earth Studio animations, remember that Google Earth imagery comes with a set of usage guidelines. Educational content, news broadcasts, and personal projects are covered, but you may need additional permissions for commercial use. Always refer to the Google Earth Permissions Page for up-to-date terms.
Popular U.S. Animation Ideas
Still unsure where to focus your first project? Here are some common animation types that captivate audiences:
- National Park Overviews: Great for environmental documentaries or travel vlogs.
- City Introductions: Ideal for news intros or event promotions in locations like Chicago, L.A., or New York.
- Storm Track Visualizations: Useful for showing hurricane paths or wildfire spreads with overlays.
- Time-Lapse Urban Growth: Pair Earth Studio animations with historical data for striking transformation visuals.
Final Thoughts
Google Earth Studio is a remarkably accessible platform that bridges the gap between data and storytelling. By applying these best practices — from strategic keyframe timing to thoughtful composition and U.S.-specific visuals — you’ll be well on your way to producing animations that impress clients, educate viewers, and elevate your content game.
Experiment boldly but start with the basics. With patience and practice, you’ll master the craft of animated geographic storytelling. Now open Earth Studio, start a new project, and bring your vision to life!